Hey everyone and welcome to the 12th post of #blogmas. First of all I can't believe we are all ready half way through and second of all, it's December tomorrow!
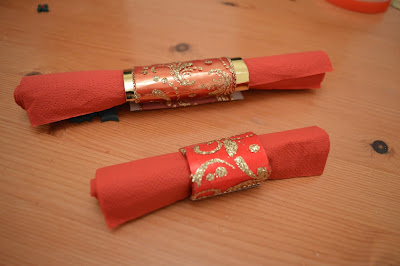
Today I wanted to give you another tutorial which you can use to decorate your table for that special family christmas dinner. I showed you how to do some placemates a few posts back and today I wanted to show you how you can create your own napkin rings.
These are so easy to make and you can create them for any size napkin you want. I wanted to give mine a simple look but you could add a lot more if you wanted to.
If you want to find out how then just keep reading.
Steps:
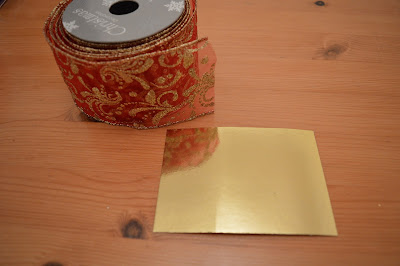
1) You will need some ribbon and a piece of cardstock. I found it easier to put together if I manipulated the card first. Take a bone folder or ruler and run along the card as you would a ribbon to create a curl. This just forces to card to lay more round as oppose to flat. A found a wide ribbon worked best but you could use multiple strands of a thinner or even just one piece. Cut a piece of cardstock slightly wider than the ribbon. Cut your ribbon longer than the card and adhere onto it folding over the ribbon on both ends. Wrap around your rolled napkin and stick together.
2) I also tried wrapping the ribbon the other way so you wouldn't have the card on each side. I put this on the smaller napkin
And that's it! Super easy, takes little time and look really nice!
I can't wait to continue creating bits and pieces for my table. It's so much fun and it's you could really turn it into a family bonding activity.
Don't forget there's a new post tomorrow. I will be showing you a cute christmas card and a technique I have been loving lately!
Be sure to subscribe so you don't miss anything! Check back tomorrow at the same time to see more christmas fun!
Happy crafting! & Blogmas!!


No comments:
Post a Comment