Hey everyone and welcome to another step by step tutorial!
I wanted to show you how you can make this quick and easy card! This is the perfect card for younger children! The one with 'Ellie' is for my granddaughter for her seventh birthday.
I love the way everything isn't perfectly straight, it adds more to the card without you having to do too much.
If you want to find out how you can create your own then just keep reading.
Steps:
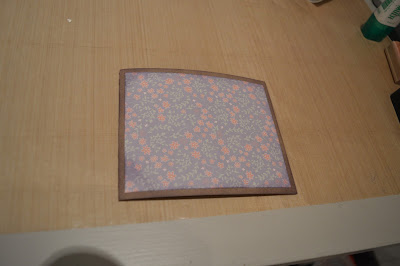
1) You will need to cut a few pieces of of card and dsp to begin with. For the card base I did a 4 1/2" x 11" piece of brown card stock and scored it at 5 1/2". You will also need a piece of dsp 4 1/8" x 5 1/8" and two other pieces both 3 1/4" x 4 1/4". You could have those two the same design if you wanted
2) Sponge around all the edges of your layer with some ink. I love using this technique to add more depth to my cards
3) Adhere your first layer onto your card base in the center
4) With your next two layers you want to centre one and with the other turn it slightly to its not straight with the edges of your card base
5) I purchased a crafting magazine, 'Crafts Beautiful', and it came with some free butterfly thinlits. I used these to make some layer butterflies to add to my card. I used the same patterns as the rest of my card and just mixed up each layer
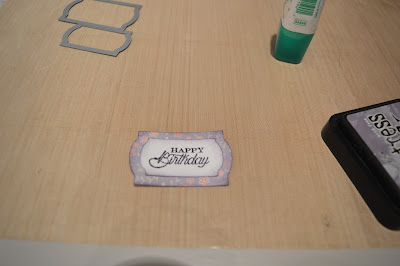
6) Stamp your sentiment with the same colour ink you used to sponge around the edges and cut it out using a punch or frame lit
7) You could also cut out a dsp the same shape but slightly bigger to use as a frame
8) Adhere your sentiment to your card and you are complete!
You could also personalise your card but adding the recipients name.
I really hope you enjoyed this tutorial. If you re-make your own then be sure to tag us on social media!
Let us know what else you'd like to see.
Happy crafting!
Susan x


No comments:
Post a Comment