
Well hello everyone! As you will know I have been away on holiday for the last couple of weeks but I am finally back! I'm so exciting to be back and get back into my crafting room!
I already had this post pre-planned for today and I'm pretty excited for this one. My sister makes glitter glass, you can find her instagram account here, and she asked me if I could make a box for a friend of hers as she was gifting them one of her glasses. Tell her I sent you!

I love the box I think it's so beautiful and it would be perfect a number of gifts.

For size reference it's perfect for a 340ml wine glass. Her glasses look so cute in these boxes and I can't wait to make some more for her! They would even be ideal if you were gifting someone a mini bottle of wine. That would be amazing!
There are quite a few steps to making this box and some of the measurements aren't the usual measurements I would like to work with but I found that it makes the lid fit perfectly! If you have any questions please be sure to let me know!
If you want to find out how to make this box then just keep reading.
What you will need:
- Piece of card stock for lid - 5 9/16" square
- Two piece of card for base cut to 10" x 7 1/2"
- Three pieces of card, one cut to 3 1/16", one to 2 9/16" and one to 2 1/16"
- Stamps and ink of your choice
- A decorative gem or brad
- Adhesive of your choice
- Any other embellishments you would like to add
Steps:
1) The first thing you will need to do is cut a piece of card stock, any colour you would like, to a 5 9/16" square. That's between 5 1/2 and 5 5/8". There was will be a few more measurements throughout this tutorial with 1/16" sizes but this is because I found working in 1/8" didn't help with this lid fitting properly.

2) You will then need to score at 1" on all four sides and set aside to work on later. This is the lid

3) To work on your base you will need two piece of card, a different colour to your lid if you would like, and cut both to 10" x 7 1/2". Score on the long side first at 2", then turn your paper so the 2" scoreline is at the bottom and score on the short side at 3 1/2" and 7"

4) Fold and burnish all scorelines and then remove the small rectangle on the bottom on both pieces. See the picture below for reference

5) Making sure you have both your card the same way up, stamp on all panels. You could do one big stamp as I did or lots of small stamps. This depends if you want to add a sentiment. I used silver embossing powder on mine to make it pop and heat set with my tool


6) Place some sticky strip across boths - about where you removed the rectangle - on both pieces. Also cut up the bottom scoreline up to the 2" scoreline and notch in slightly

7) Attach one to the other by sticking the tab to the back of the other piece. It will be on the side without the tab

8) Simply fold in half to finish putting the sides together


9) To put the bottom together push two sides in that at opposite and place some sticky strip to one of the remaining sides. Stick this to the two you have already pushed together

10) Repeat step 9 with the last tab


11) Now to complete the lid take the piece of card from earlier. You will also need to cut three pieces of card. I used the same colours I already had used for my lid and base but this is up to you. The first piece, biggest, will need to be 3 1/16", the second will then be 2 9/16" and the final piece - which you will be stamping on - will be 2 1/16"

12) Taking your lid piece of card you scored in step 2, cut up one scoreline on each of the squares. Start with the square on the bottom right and cut into the scoreline above the square. Keep turning 90 degrees until you have done all four. You will need to notch in a lot as well on each cut to avoid any card sticking out. Place sticky strips in L shapes all about and each sqaure will fold into the long rectangle above it. This will be when you are looking at it when it's on the bottom right.


13) Stick all your pieces together from step 11 and stamp onto the smallest piece. Again I embossed this with silver to tie the design into the base

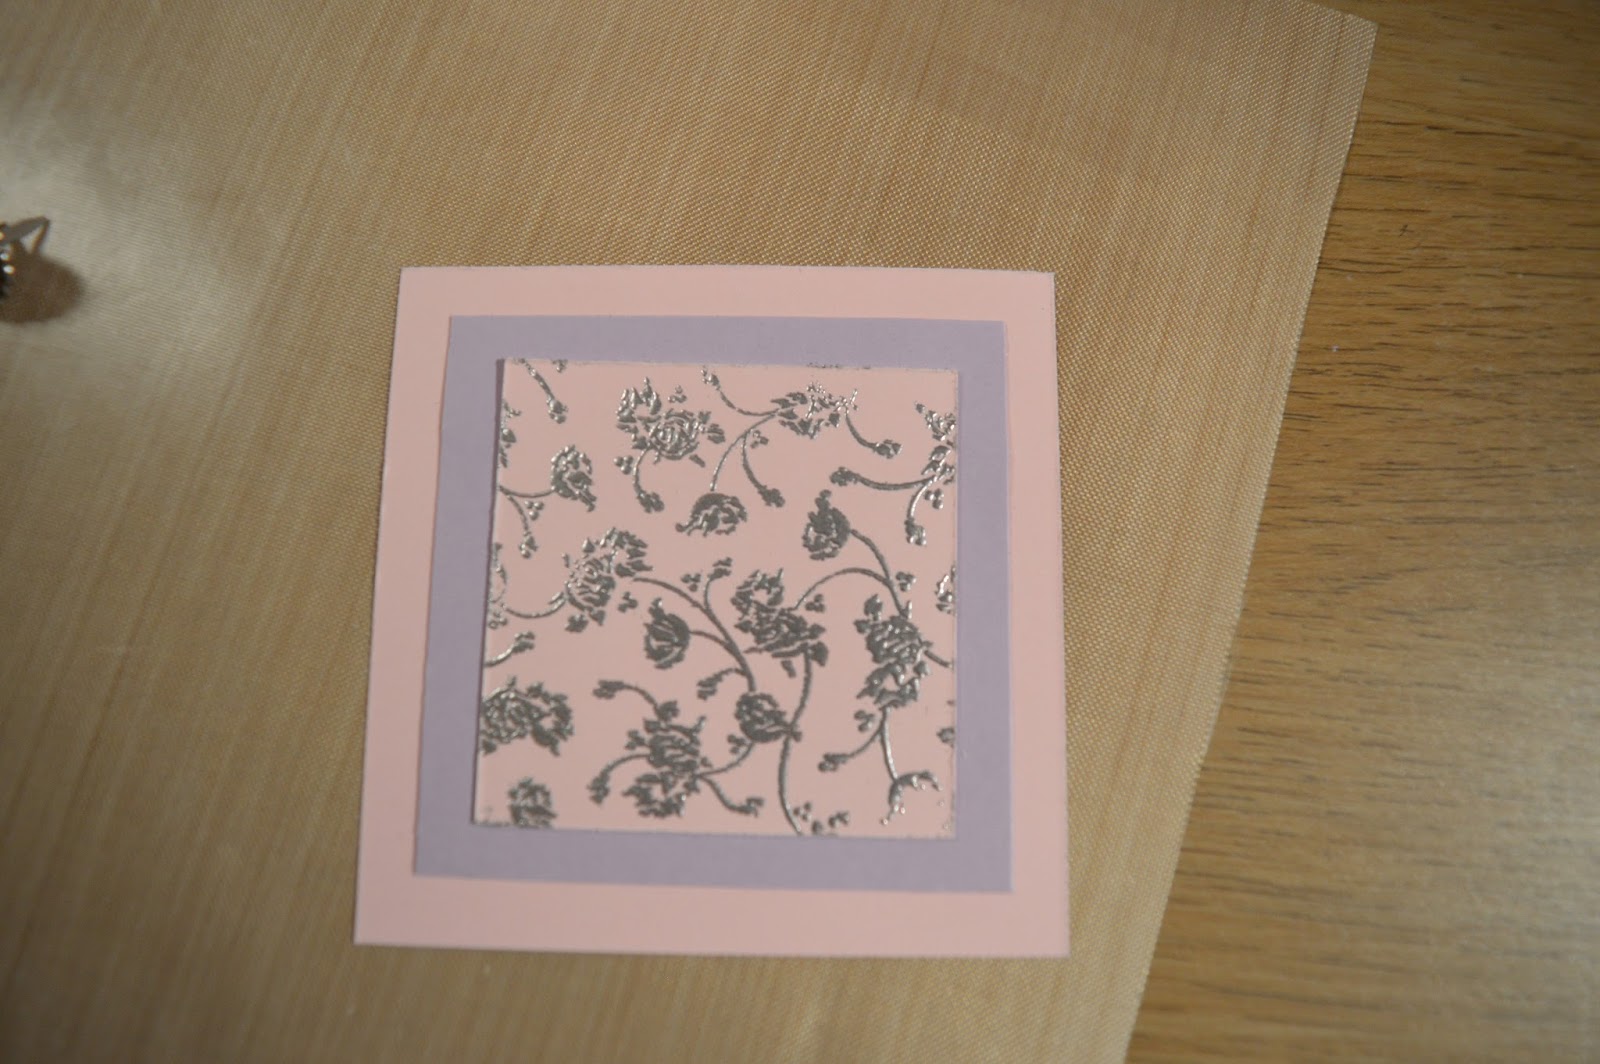
14) This is optional but you could also add a decorative gem or brad onto the top of the lid in the centre


15) Stick onto the top of your lid then you are complete!


As you can see the glass fits perfecting into the box!


I really hope you enjoyed this tutorial. Be sure to check out my sisters glasses on her instagram!
I'm really looking forward to my blog session this tuesday with Danielle so be sure to let me know if there's anything you would like to see!
Don't forget if you re-make this tag me on twitter or instagram or you can use the hashtag #sukilucrafts.
Happy crafting!
Susan x
No comments:
Post a Comment