
Hey everyone!
Welcome to another Sunday step by step tutorial. I have been so looking forwards to getting back into my crafting since I've been back off holiday. You may also know my youngest daughter went to University yesterday so I have also been busy getting her ready for that!
In today's tutorial I wanted to show you another milk carton type box. I showed you how to make a smaller one a while ago, you can check it out here, but I love experimenting with different sizes and I thought I would show you a bigger version.
I made something very similar to these last easter and filled them with lots of chocolatey goodies for my family.
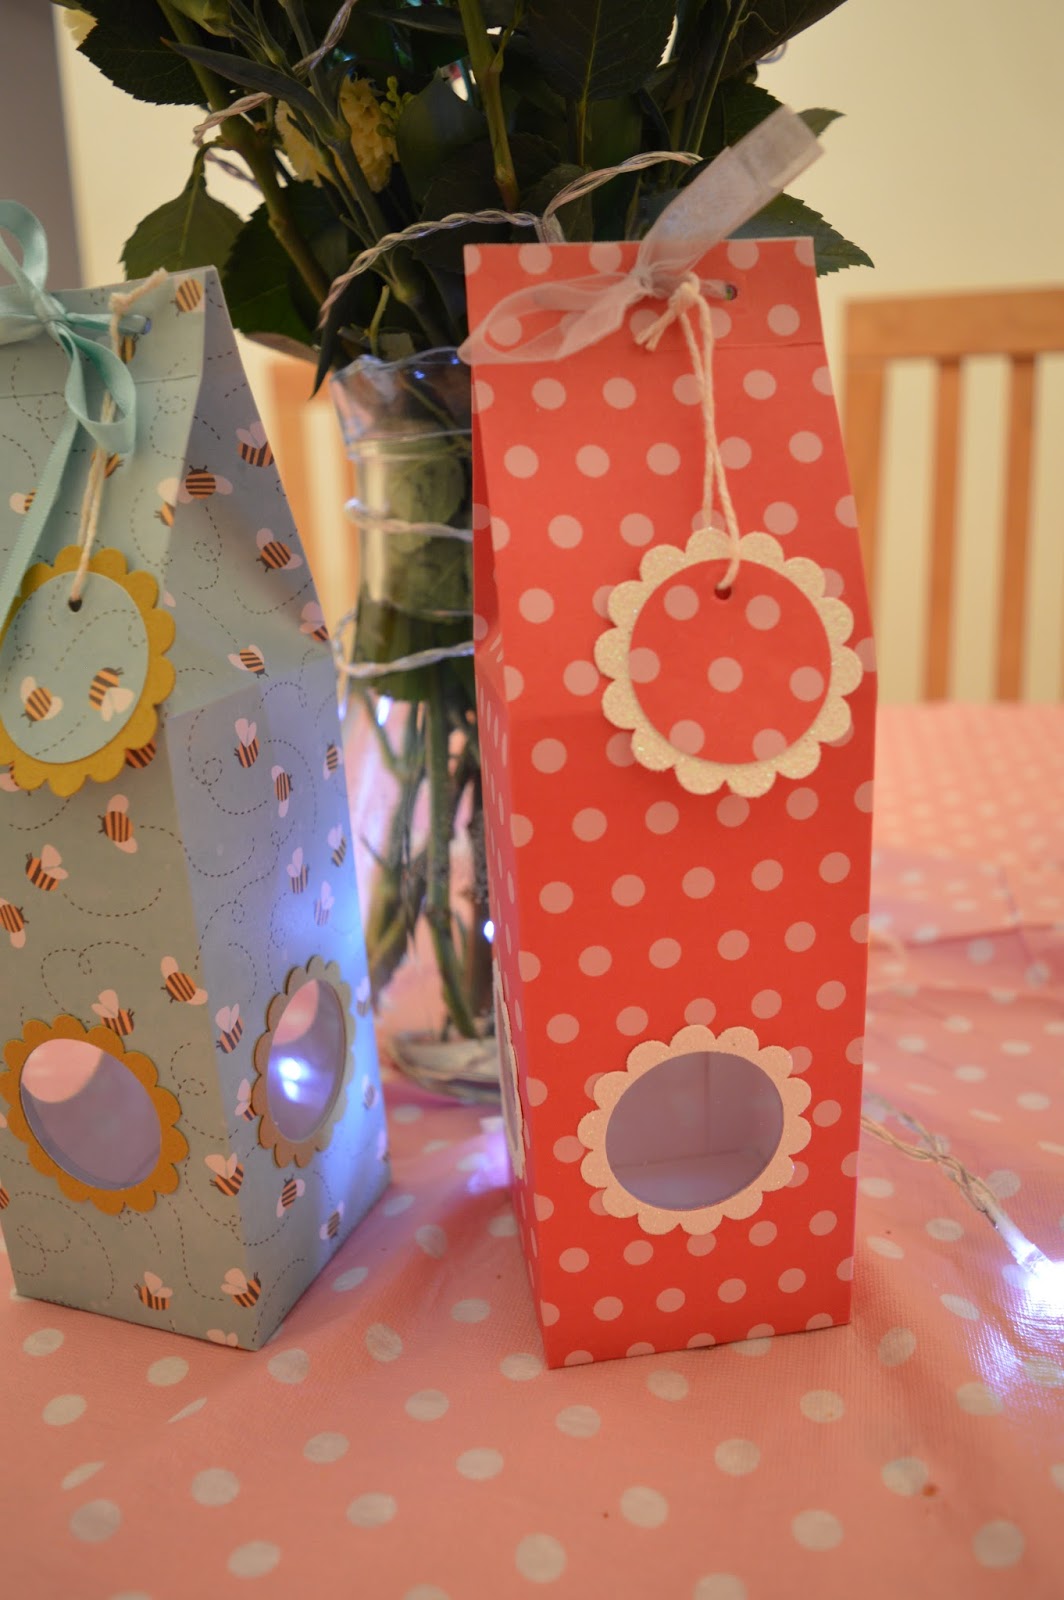
I love the little windows on the box so it gives a little sneak peak to whats inside. As always with any box or bag the possibilities for occasions or who you give them to are endless! I think it greats to have a wide range on hand made boxes you can make because them you aren't limited to whats gift you can buy. I never think you should base you gift on what boxes you make but the other way round!
Long go the days for me buying huge gift bags from the supermarkets and only putting a box of chocolates inside!
If you want to find out how to make this box then just keep reading
What you will need:
- DSP cut to 10 1/2" x 11"
- Four piece of acetate cut to 2" squares
- 1 3/4" scallop circle punch and 1 3/8" circle punch
- Ribbon
- Hole punch
- Adhesive
- Any embellishments of your choice
Steps:
1) Cut DSP to 10 1/2" x 11". You want it cut so the pattern is the right way up then the short sides are on the left and right

2) You will then need to score your DSP. On the long side you need to score at 2 1/2", 7 3/4" and 10 1/4". The right is the top of your box. You will then need to score on the short side at 2 1/2", 5", 7 1/2" and 10"

3) Fold and burnish your scoreline. Remove the small rectangle on the bottom left corner.

4) Punch out a 1 3/8" circle from scraps to use a template

5) Decide where you want your windows to go, think about what you might put in the box as it could effect where you place your windows. Once you have chosen then simply use your template as a guide to where you want to punch. You want to punch your windows out anywhere on the middle rectangle


6) To get all your windows even fold the paper in half to use the already punched windows as a guide. Repeat this step until you have punched out four windows. Keep on to the side for later


7) Cut into the four squares on the bottom and notch in slightly

8) Cut four pieces of acetate to 2" x 2" sqaures and stick behind your windows

9) Place some sticky strip on the long tab - above where you removed the rectangle - and fold in half.


10) To create the scalloped frames for the windows cut out a 1 3/8" circle leaving a gap between the circle and the edge. Then take the 1 3/4" scallop circle and line up the circle hole with the centre of the punch. Then when you actually punch it out you will get the frame! Repeat this until you have four. Also punch out a complete 1 3/8" without the circle missing in the centre


11) Stick the circle you kept aside from earlier onto the full scallop circle

12) Stick your frames around the windows


13) To seal the bottom decide which square you want to go in last (preferably the one that will fold towards the back) and place some sticky strip on the side without the pattern. Then simply fold in the other three squares and adhere together

14) Where you created the scorelines you should be able to push in the sides and you end up with a flat seal at the top. Use a binder clip or peg to temporarily keep it shut


15) Punch a 1/8" hole in the complete scallop circle and DSP put together

16) Also punch out two holes in the tab either side of the clip

17) Use a piece of ribbon to tie round and create the closure. Then add the piece from step 15 with a piece of string to the ribbon


Cute right?
If you were having a children's party these would be an amazing replacement for party bags! Because of the closure I feel it gives you a bit more room to fill your box with more goodies.
Making boxes is my favourite thing to do because I love the simplicity of them yet they show such an effort for when you are giving your gifts!
Don't forget if you re-make this tag me on twitter or instagram or you can use the hashtag #sukilucrafts.
Happy crafting!
Susan x
No comments:
Post a Comment