
Hey everyone. I am currently away on holiday at the moment but I still wanted to make sure I could get some posts up!
I have done a few wedding related posts in the past, in fact my most popular post is a wedding favour box tutorial!
I was playing around with a few ideas for some cards and found a really cute way of doing a wedding card. I feel this is perfect for a wedding and you could co-ordinate with the big day's colours!

I just love how the hearts on the card represent the bride and room and then every else is just so simple. Sometimes simple really is best!
There are very few steps to this card and it's so easy to make! If you want to find out how you can achieve this card then just reading.
What you will need:
- A piece of card stock for the card base - any colour you would like - cut to 4 1/8" x 11"
- Two pieces of card - any that match, white or cream work best - cut to 3 7/8" x 5 1/4"
- Scraps of card the same colour as your card base
- Embossing folder
- Ribbon
- Stamps and inks of your choice
- Pearl adhesives/gem adhesives
- Any other embellishments you would like
Steps:
1) For your card base you will need to cut some card stock - whatever colour you like - to 4 1/8" x 11" and score at 5 1/2" to create a top folding card. You will then need to create two panels, I would suggest either white or cream at 3 7/8" x 5 1/4"
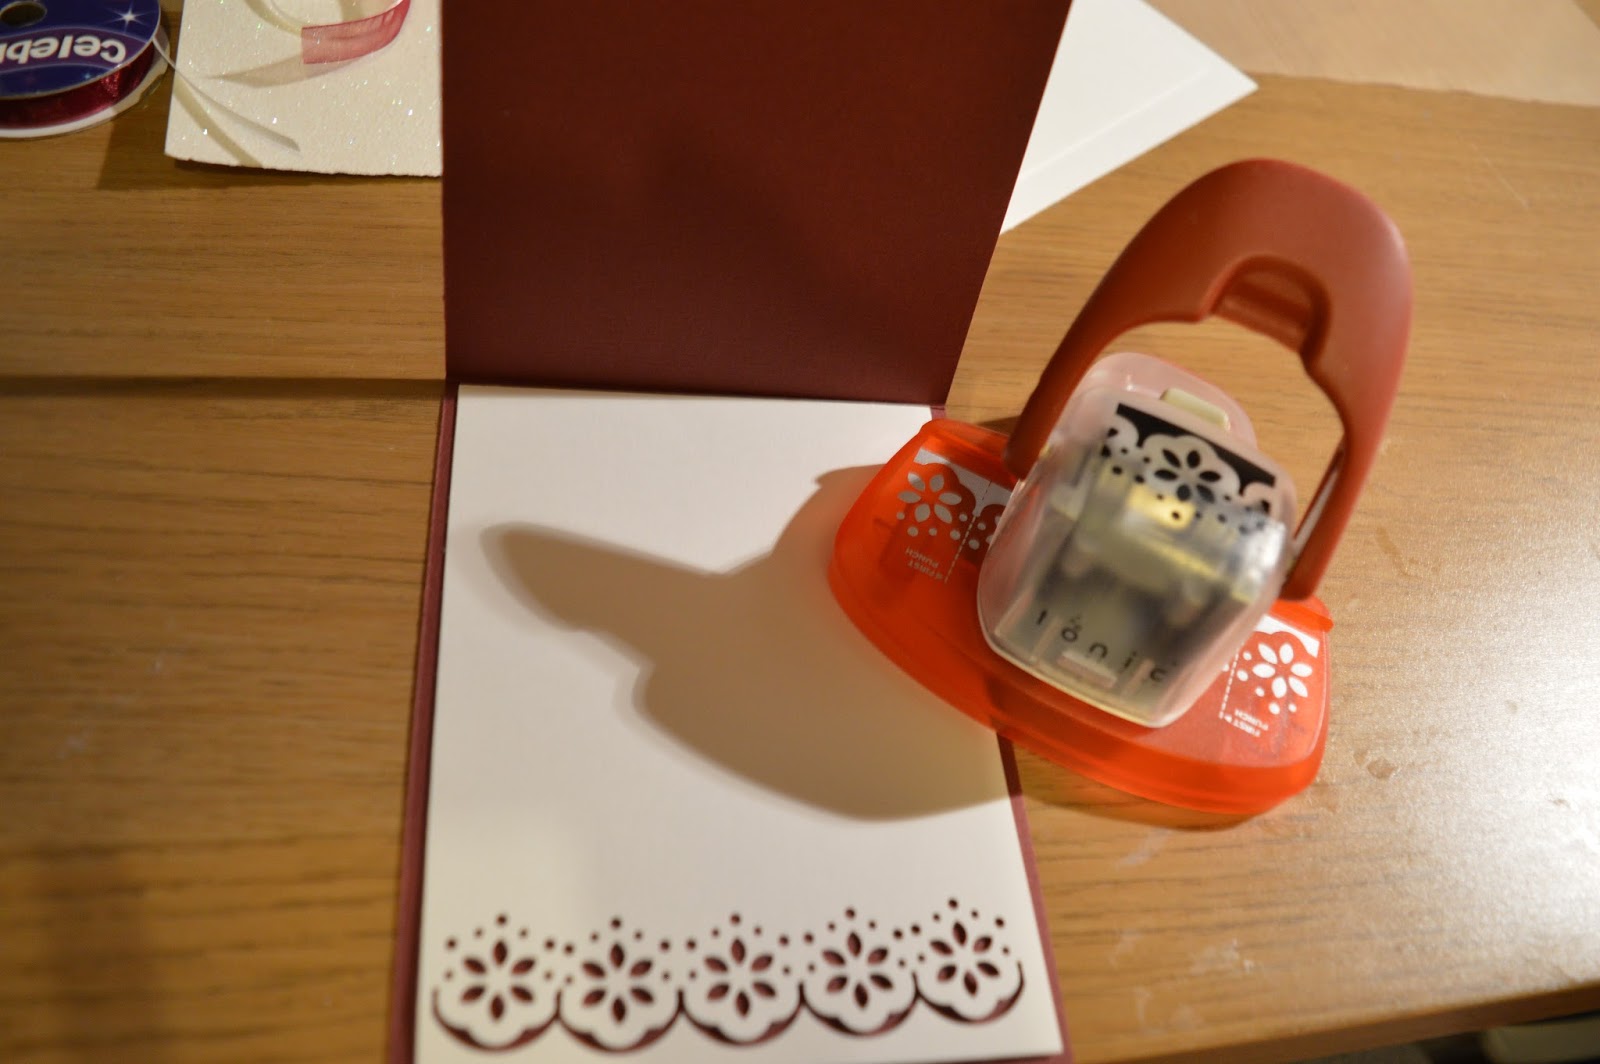
Take one of the panels and using a border punch go across one of the short sides. This will be going on the inside of your card and the side you punch will be at the bottom. Adhere it to the inside of your card
2) Take your second panel and emboss using an embossing folder through your big shot. Don't emboss the bottom part as you will be stamping. Use your stamp as a rough guide to see where you want to emboss. I used a heart themed embossing folder

3) Once you have emboss then stamp your sentiment on the bottom and stamp a message on the inside. I set my stamping with some clear embossing powder but this is optional


4) Then take a heart die set and use the two smaller hearts. Using the bigger on the two first cut out two hearts of some scraps - the same colour as your card base


5) Then taking the smaller, cut two more hearts out of some white glitter card or paper

6) To create the 'groom' heart simply snip off two sides of the heart as shown below. To get an even cut use your first cut as a template for the second. Place a few gems down, either black or you could colour white ones black if needed

7) To make the 'bride' heart just simply adhere your smaller heart to your bigger and stick on some pearls!

8) To finish your card wrap your ribbon around your front panel between your embossing and your stamp. Attach your hearts - I added a small ribbon to the groom heart. And finally add a small flower or any other embellishment you would like to the ribbon.

I love this card I just think it's so adorable!! The colour combinations are endless so they are just perfect for weddings. This could even work for an anniversary card.
I would love to know what kind of cards are you favourite to make? I have been playing around with different types of cards, more complicating ones, so I will definitely be sharing them on here.
Like I said this is a pretty simplistic card which make its pretty easy to make. You could even get away with out embossing the front panel of the card and still get a beautiful card.
Don't forget if you re-make this tag me on twitter or instagram or you can use the hashtag #sukilucrafts.
Happy crafting!
Susan x
No comments:
Post a Comment