
Hi everyone!
So I've been into planning for quite some time now and I really envy you planner girls who have ring bound planner such as the Kikki K or Filofax! I love how much you can customise you planners with different dashboards, inserts, dividers and the large pocket space you have to fill with planer goodies.
I've had my Erin Condren for a while now and I decided to try and customise it in whatever ways I can. I have seen people making their own covers for it so I decided to give it a go.
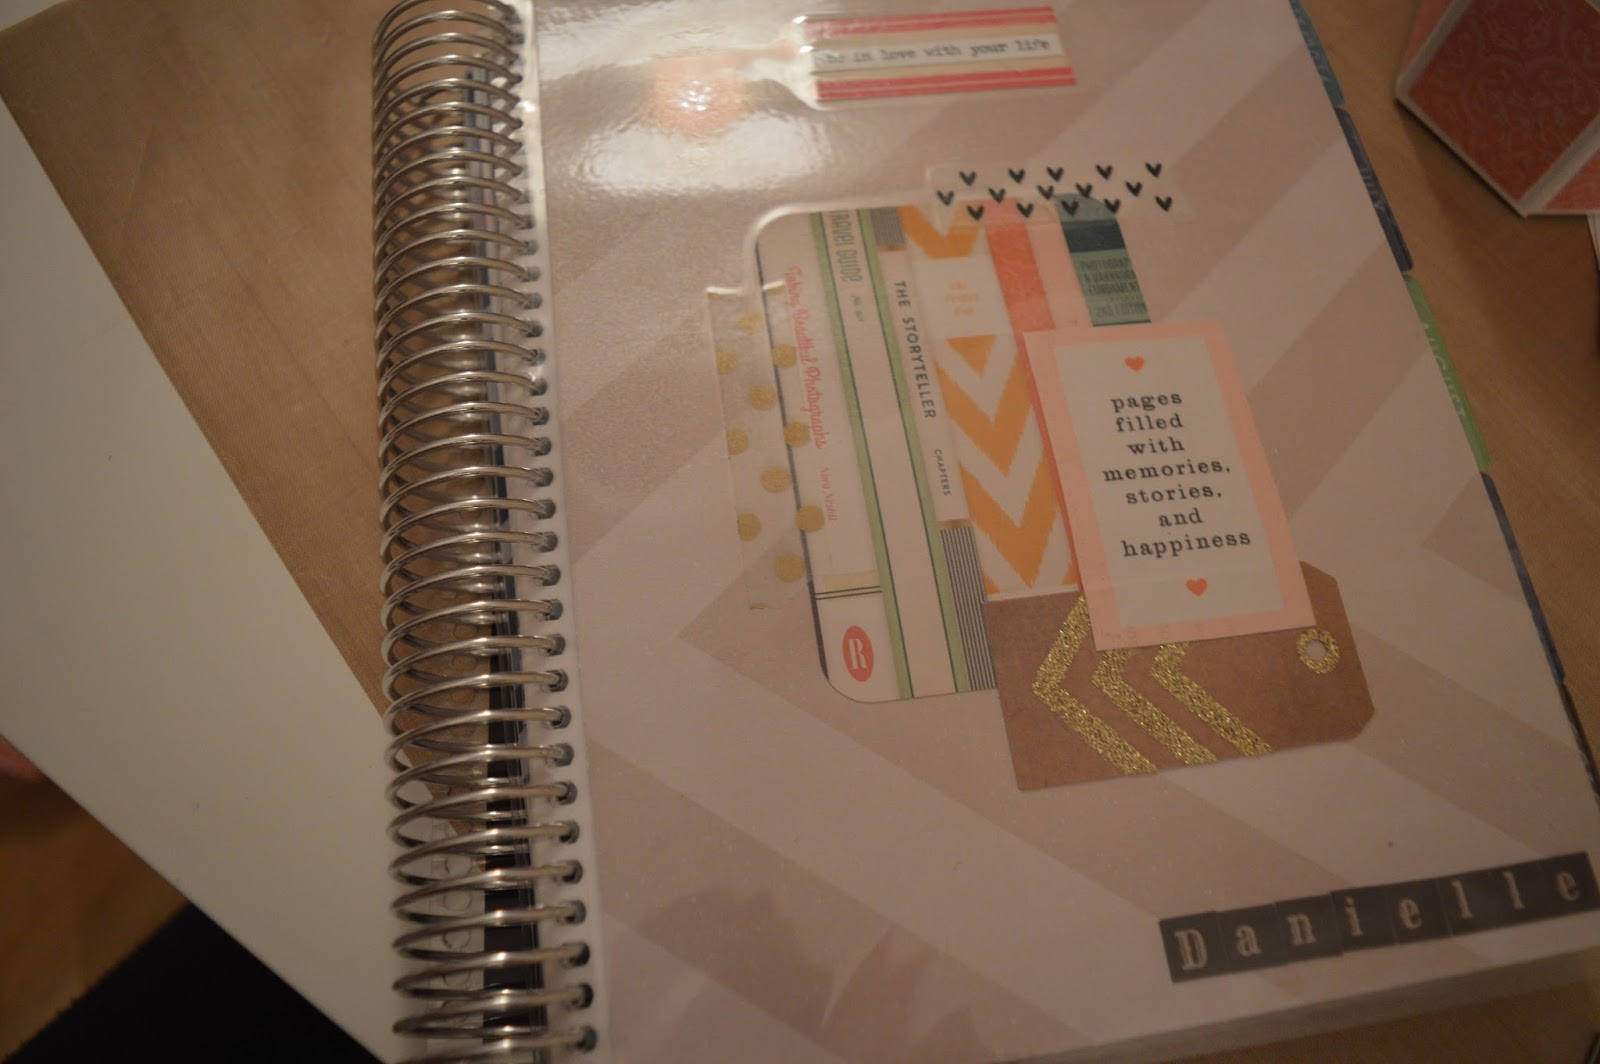
I love how it turned out and I feel its much more my style! It was so easy to do but I will say the one thing I learnt was you need to have decent quality laminating pouches. Although it did still work out for me using low quality pouches (they came free with the laminator) it's not extremely sturdy!
If you want to find out how you can make your own cover then just keep reading.

You will need to remove both of your current covers from your planner.

There are a few different ways you could make a cover, you could print something out from your computer on regular paper, use some card stock and decorate it or DSP. I chose from patterned paper from a pack I had bought. You need to cut it down to 6 3/4" x 8 7/8". I added some embellishments to mine to create the look I was going for. The amazing thing about this is that you can decorate as much or as little as you want to! Do the same for the back cover. I just left mine plain but used the same patterned paper.
To complete your cover you will need to laminate both pieces. Be sure there is a border around all four sides. You will then need to cut your cover. On the top, bottom and side that doesn't have the holes punch cut so you have a 1/8" border. Trim the side that does have holes 3/8" thick. Then simply place under your covers you took off your planner and keep in place using paper clips or binder clips. Using a 1/8" hole punch and your old cover as a guide punch out all the holes. Then all you need to do is snip into all your holes and you are done.
You can then carefully put your cover on just as you did with your old one!
I love doing this, in fact I already want to make more. What I find really fun about this is that you can make covers for every season, occasions or just for whatever fits your mood. There isn't any restrictions!
All you need is a laminator, hole punch and scissors and you are good to go!
I really hope you enjoyed this tutorial! I have a ring bound planner on my christmas wish list. I love planner decorating!
If you would like to purchase the EC planner or anything on the Erin Condren website you can click the link below where you can receive a $10 off coupon code.
Disclaimer: If you use the link above, sign up and make a purchase I will receive a $10 coupon to spend online at Erin Condren. I completely understand if you prefer not to use this link. You can just go on the website itself and sign up then receive your $10 coupon without having to use my link!
Hugs
Danielle <3
No comments:
Post a Comment