
Hey everyone!
I’ve got another step by step tutorial today for you. I saw Sam from Pootles Papercraft make these washi tape holders and I immediately wanted to make a few for myself. I have accumulated quite a few washi tapes these last couple of month and my organisation for them makes it difficult for me to use them all.

This holder is perfect for sorting out large amount of washi in a way that’s practical in terms of space but also allows you to see them all. You should definitely check out Sam’s youtube channel. I abolsutely love watching her videos, she has so many great tutorials and is all round a pleasure to watch! You can find her youtube channel here.
If you want to find out how you can make your own then just keep reading!
What you will need:
- Card stock cut to 11" x 6 5/8"
- Stamp and ink of your choice
- Adhesive
- Scoring board
- Scissors
- Washi tape or an other embellishment
Steps:
1) The first thing you want to do is chose what colour card stock you would like. I was making this one for Danielle and she went with a mustard yellow colour. Cut it to 11" x 6 5/8"

2) This is optional but you can cover you card stock in a pattern with a stamp. If you decide to do this cover the front and back. I used a floral pattern stamp and a teal colour ink from Stampin' Up!

3) First score on the long side at 1", 3", 5 1/2", 8" and 10". Then score on the short side at 2" and 4 5/8". You then need to score at 1" down to the 3" scoreline you made on the long side. You always want to do this on the left hand side on all four corners making sure the shorts sides are at the top and bottom. You will need to turn your paper to the other side to do this.

4) Fold and burnish all your full scorelines. With the partial scorelines you made you want to cut off that rectangle. It essentially snips in half the small rectangle and square on the top corners. Do this on all four partial scorelines.

5) Then cut into the squares on all four corners and notch in slightly. Cut the other side of the rectangle below and cut in between the two squares in the centre. See the picture below for reference.

6) Place some sticky strip on the edges shown in the picture below.

7) To begin putting your holder together simply stick the small notched square to the outside of the rectangle below and then stick them both to the inside of the square below that. This will hide the smaller square to achieve a cleaner look.


8) Do this on all four corners


You should end up with something that looks like this


9) Fold the box back so the middle scoreline comes up and place a binder clip for peg to keep it shut.

10) Snip from the bottom corner of the square sticking out to the top.

I found it easier for go from the bottom part first as you can see below.

11) Do this on four corners and then use any adhesive you would like to keep the box like this permanently

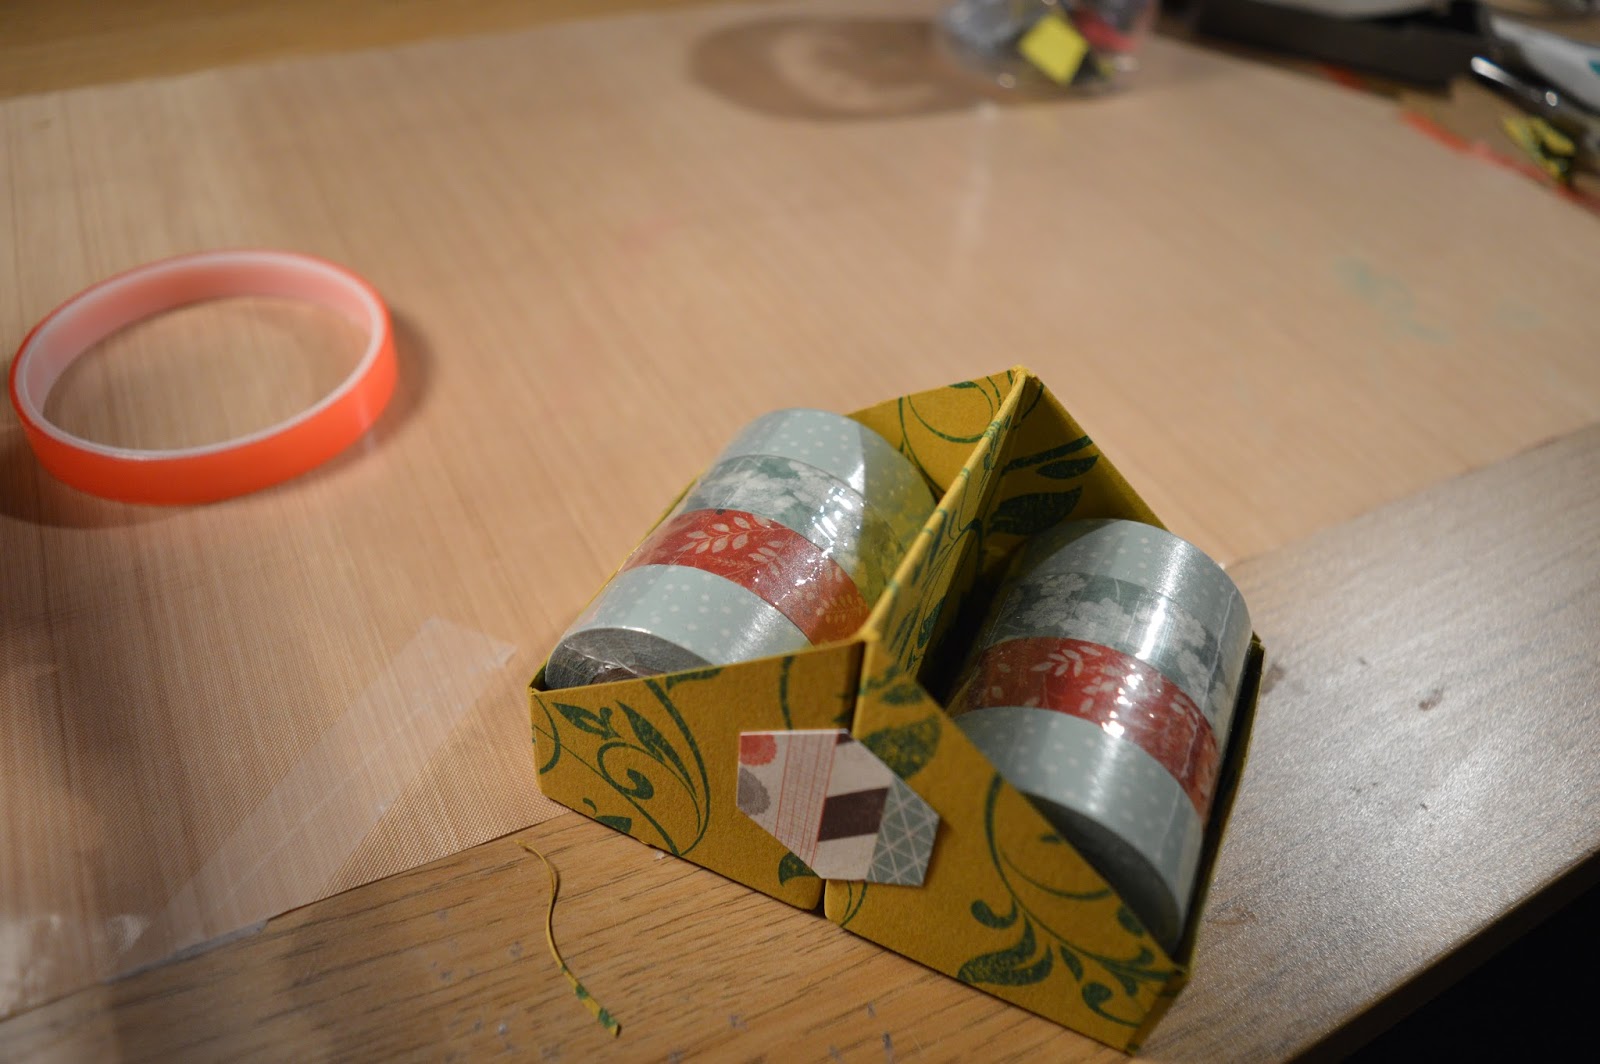
12) Add a bit of extra decoration to your box. I punched out a hexagon from some DSP paper but you could also use washi tape or ribbon around the bottom edge


Here is my washi tape system before I discovered these cute DIY holders.

And now I have a number of these holders in one of my Ikea Alex drawers. I can clearly see all my washi and it will make it so much easier not to neglect any of them!

You can see another holder I made adding some glitter washi as my extra bit of decoration.

I really hope you enjoyed this post. I love making these and will definitely be making more for myself and Danielle.
If you have any questions be sure to comment down below and be sure to check out Sam's youtube channel. The link is at the top of this post.
Don't forget if you re-make this tag me on twitter or instagram or you can use the hashtag #sukilucrafts.
Happy crafting!
Susan x
No comments:
Post a Comment