
Hello everyone.
So it has been a very long time since I have consistently posted new things on my blog and I really want to start posting on a regular basis!
If you didn't know already I do have a YouTube channel which I have quite a few different videos. Click here to check it out.
So for todays post I wanted to show you how to make a fold flat gift bag. These are perfect for something who loves to gives gifts in handmade bags and boxes as you can make these in bulk and easily store them.

You could use these for any occasion; birthdays, weddings, anniversaries and they would be perfect for children's party bags.
I am trying to build up a collection so when I do craft fairs I can give people nice bags to put all their goodies in.
I have also done a YouTube video on this project so if you would like to watch that then just click here.
So if you would want like to find out how to make this bag then just keep reading.
Steps:
1) To start this bag you will need two pieces of DSP measuring 9" x 10". If you have a directional pattern make sure you cut the paper so the 9" is at the top and bottom and the 10" is at the sides.

I have drawn lines on all the score lines you will need to make so it will be easier to follow.
2) For the front part of the bag you will need to score on the 9" side at 1/2" and 3 1/2"

3) Use a ruler to help guide you 6" down the paper and score at 2"


4) Turn your DSP clockwise so your 10" side is across the top with your skinny rectangle

Score at 2 1/2"

5) Make another partial scoreline from 4", this should meet the partial scoreline you have already made


6) For the back of the bag, on the other piece of DSP repeat the steps 2, 3 & 4.

7) Don't repeat step 5. Instead turn your paper so the long skinny rectangle is at the bottom and score at 6" so it meets the partial scoreline

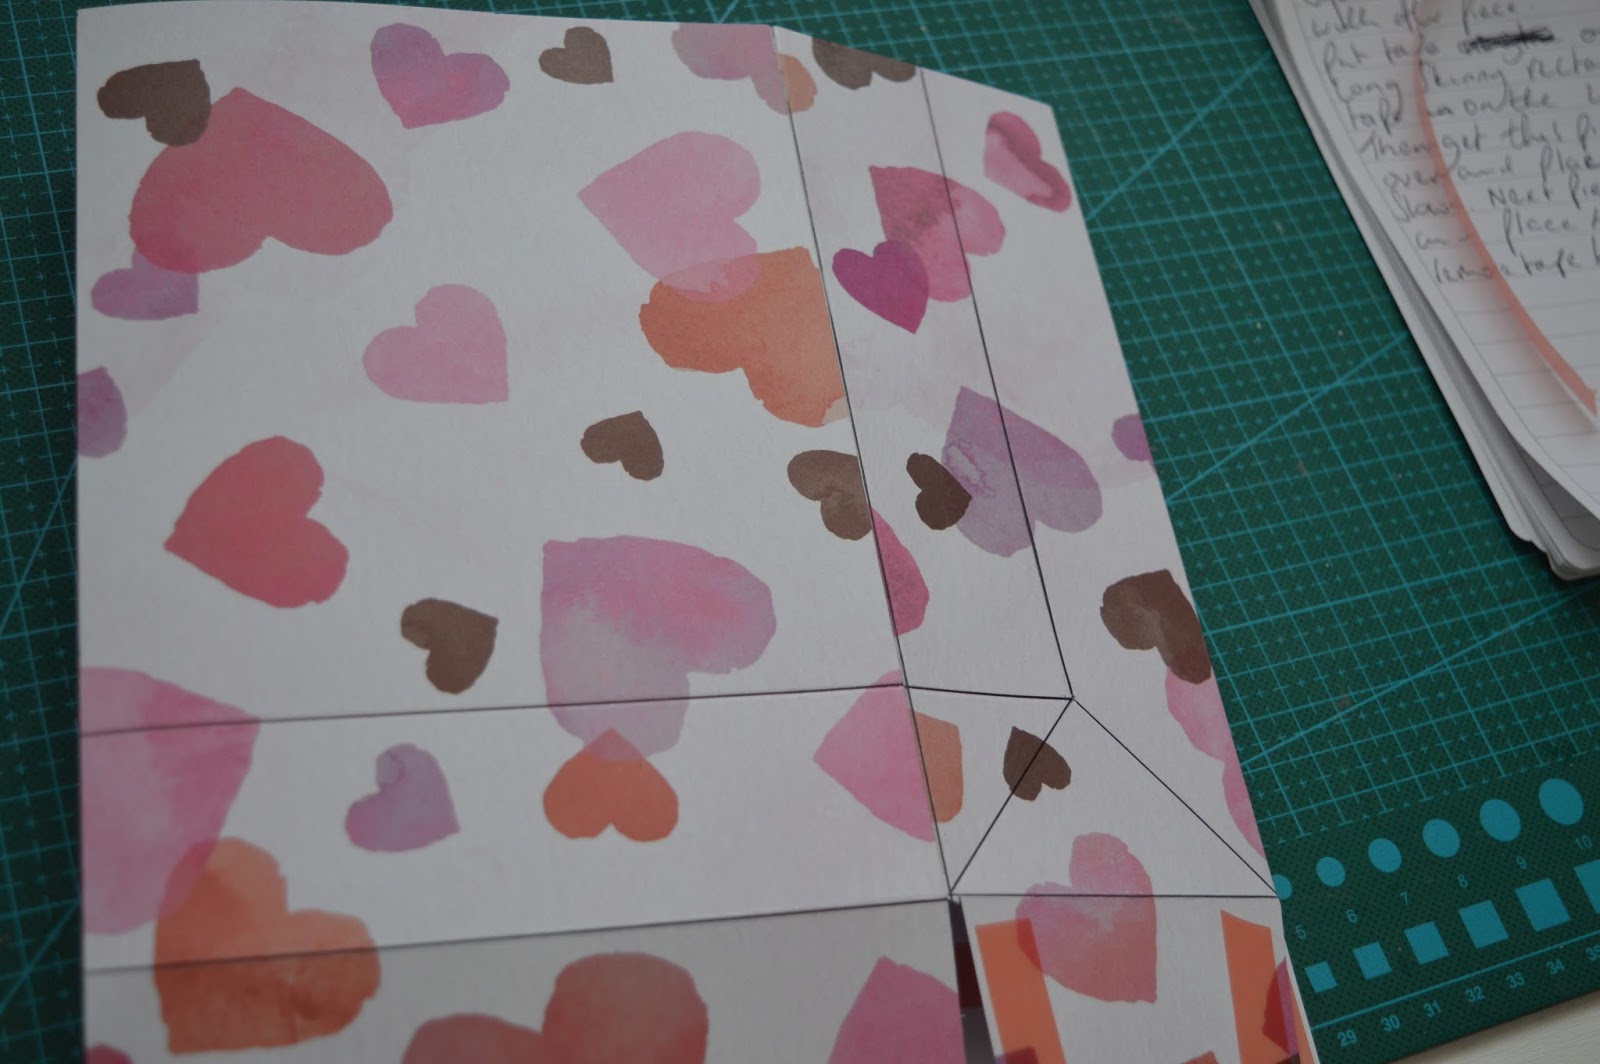
It should look like this for the back of the bag....

...and this for the front.

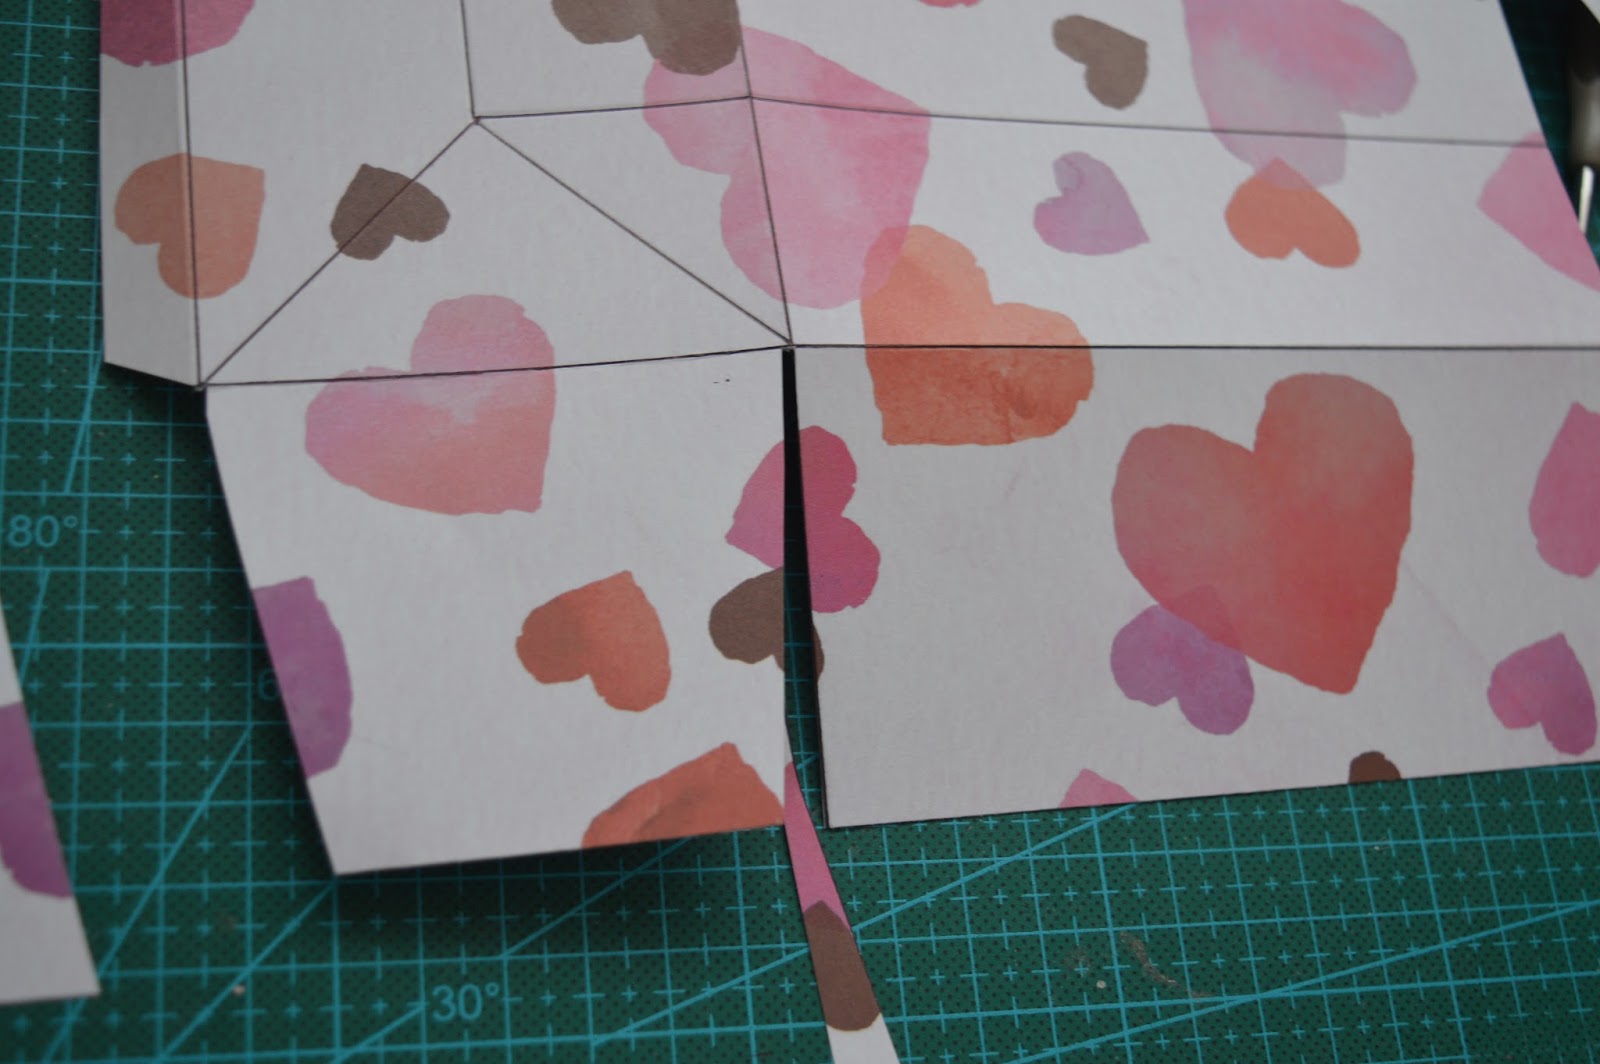
8) You will now need to make two diagonal scorelines on both pieces. These will be in the exact same place for both. You will need to go from where the two partial scorelines meet to the corner under where two scorelines cross.

The first diagonal (shown on the back piece)


The second diagonal (shown on the back piece)

Repeat exactly the same on the front piece as well
9) Fold and burnish all your full scorelines. Leave the partial and diagonal ones for now


10) You will need to cut both pieces exactly the same. Turn them over so you have the long skinny rectangle on the right. Remove the very bottom small rectangle and notch out slightly above. You want to cut to the left of the scoreline so you end up removing it

11) Take a small notch from the top of the skinny rectangle


12) Next to where you have just removed the small rectangle you will have a large square. On the side you didn't already cut you need to make cut up the scoreline and again to the left of it (with the paper turned the other way than is shown below)

13) Notch out on both sides of the square
The front of the bag should like this.....

....and the back should look like this

14) On both pieces place some sticky take on the long skinny rectangle (pattern side)

15) Place some tape on the notched sides of the squares (pattern side again)

16) On the front piece, turn it over and place tape on the big rectangle on the bottom as show below


17) On the back piece, turn it over and place tape on the big rectangle on the bottom as show below


18) Remove the tape from the long skinny rectangle on the back piece and place the straight side on top from the front piece. Push the paper right up to the scoreline but don't overlap


19) Turn your bag over and fold in both sides removing tape from the other skinny rectangle. It should automatically come together.

20) To begin putting together the bottom of the bag turn so the front is on the bottom and remove tape from the sides and the tab that on the top (on the side that is the back of the bag)

21) Fold in the side and adhere the tab down making sure everything is straight

22) Remove the tape from the last tab and turn your back upside to make it easier to adhere. Again you need to make sure everything is straight


23) Cut a piece of card 5 3/8" x 2 7/8" and adhere to the bottom of the bag to hide the tabs. You just need glue for this step


24) To create the fold flat part of the bag simply pinch in the sides and gently push down the scoreline on the back of the bag and it will fold down flat


25) Punch two 1/8" holes on each side of the bag 1" in and 3/4" down


26) I found for this bag two pieces of ribbon 16" is perfect. Thread each end through the hole and tie in a big double knot. Be careful not to pull too tight or it could come out through the hole

And there you have it!


Thanks you so much for reading this post and as always if there is anything you would like me to make then comment below or you can contact me on any of my social medias.
Happy crafting!
Susan x
No comments:
Post a Comment