
Hey everyone! I wanted to do another quick step by step tutorial on how you can make a very simplistic happy birthday card!

This card is perfect for a last minute job or if have limited suppliers. Any beginners out there who want to give it a go making there own cards this tutorial is definitely for you!
If you want to find out how to make this card then just keep reading.
Steps:
1) First you will need to cut quite a few pieces of card to create the layers. For the card base you will need a piece of card cut to 11" x 5 1/2" scored at 5 1/2". You will also need two other piece of card this same colour, 1 3/4" x 5" and the other a 2 1/4" square. You will need three pieces of black card, one a 5 1/4", one 2" x 5 1/4" and the last a 2 1/2" square. Finally you need a piece of dsp cut to a 5" square

2) Stick the 5" square dsp onto the 5 1/4" square of black card stock and adhere to the front of the card

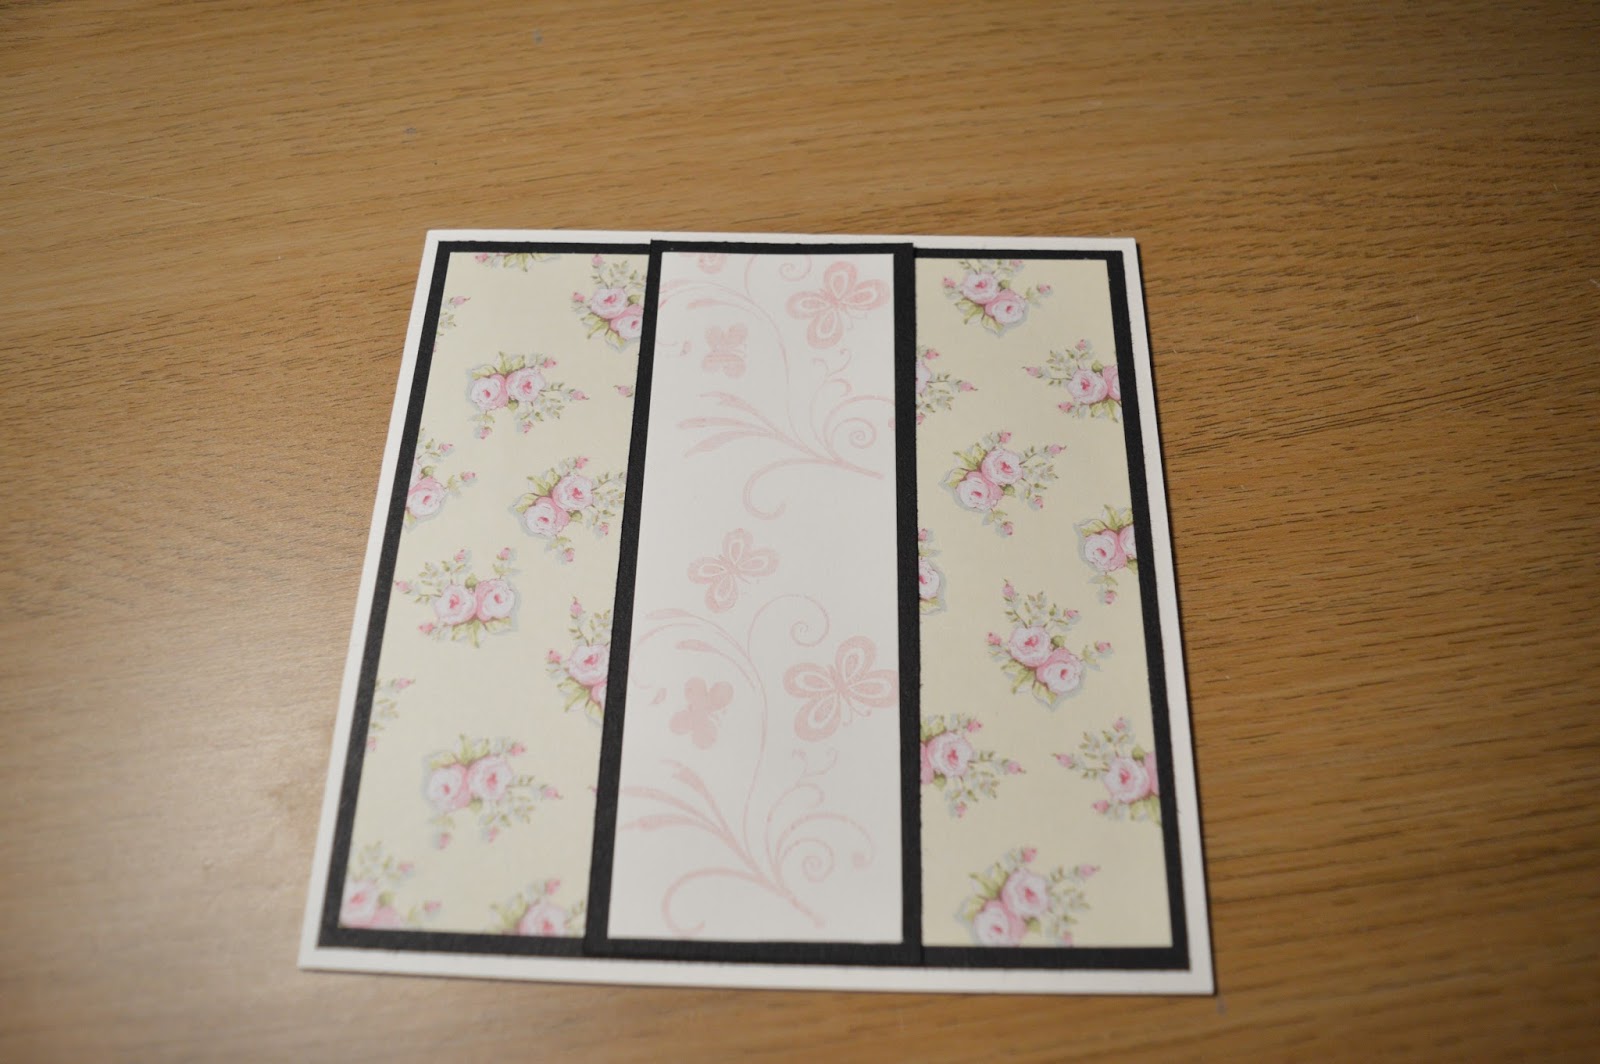
3) This part is optional but I stamped a pattern onto my two other piece of card the same colour as my card base. Stick the long panel one onto the black panel card stock


4) Stick your panel onto the middle of your card
5) Layer your two smaller squares and stamp your sentiment on it. I stamped mine so my square was twisted to create more of a diamond shape

6) Stick onto your card and add any other embellishments you would like. I always like to use gems as I think they are subtle enough without going over the top

There you have it! A very simple card yet it still has the handmade touch. Sometime simple is best and it means no matter how much time you have on your hand, you can still make your own card!
Let us know in the comments down below if there is anything else you want to create.
Happy crafting!
Susan x
No comments:
Post a Comment