
Hey everyone! I can't believe how long it's been since we put up a post here on the blog!
How was everyone's Christmas and New Year? I went by so fast for me and my family it feels like it never happened.
We wanted to take a sort break from putting posts so we could make the most of the whole family being together (my youngest daughter was back from University) and we had a lot of chats about where we want to take the blog this year. Lot's of exciting thing's planned. Also, if you have been following since before christmas we mentioned about a giveaway we have been planning to do. We still completely plan on doing the giveaway we are just finishing up a few bits for it. We have most of the products sitting in the craft room waiting to be boxed up but we wanted to add as much as we can to it! Make sure you stay tuned so you don't miss out.
So in today's post I wanted to share with you a cute way to wrap up a wine bottle to give to a friend or family as a gift! This could also work with non-alcoholic wine or any other bottle in a similar shape!

It's so easy to do and you can easily adjust the sizes if you need to.
If you want to find out how to make your own then just keep reading!
Steps:
1) Cut a piece of card stock to 10 1/2" x 10 7/8".
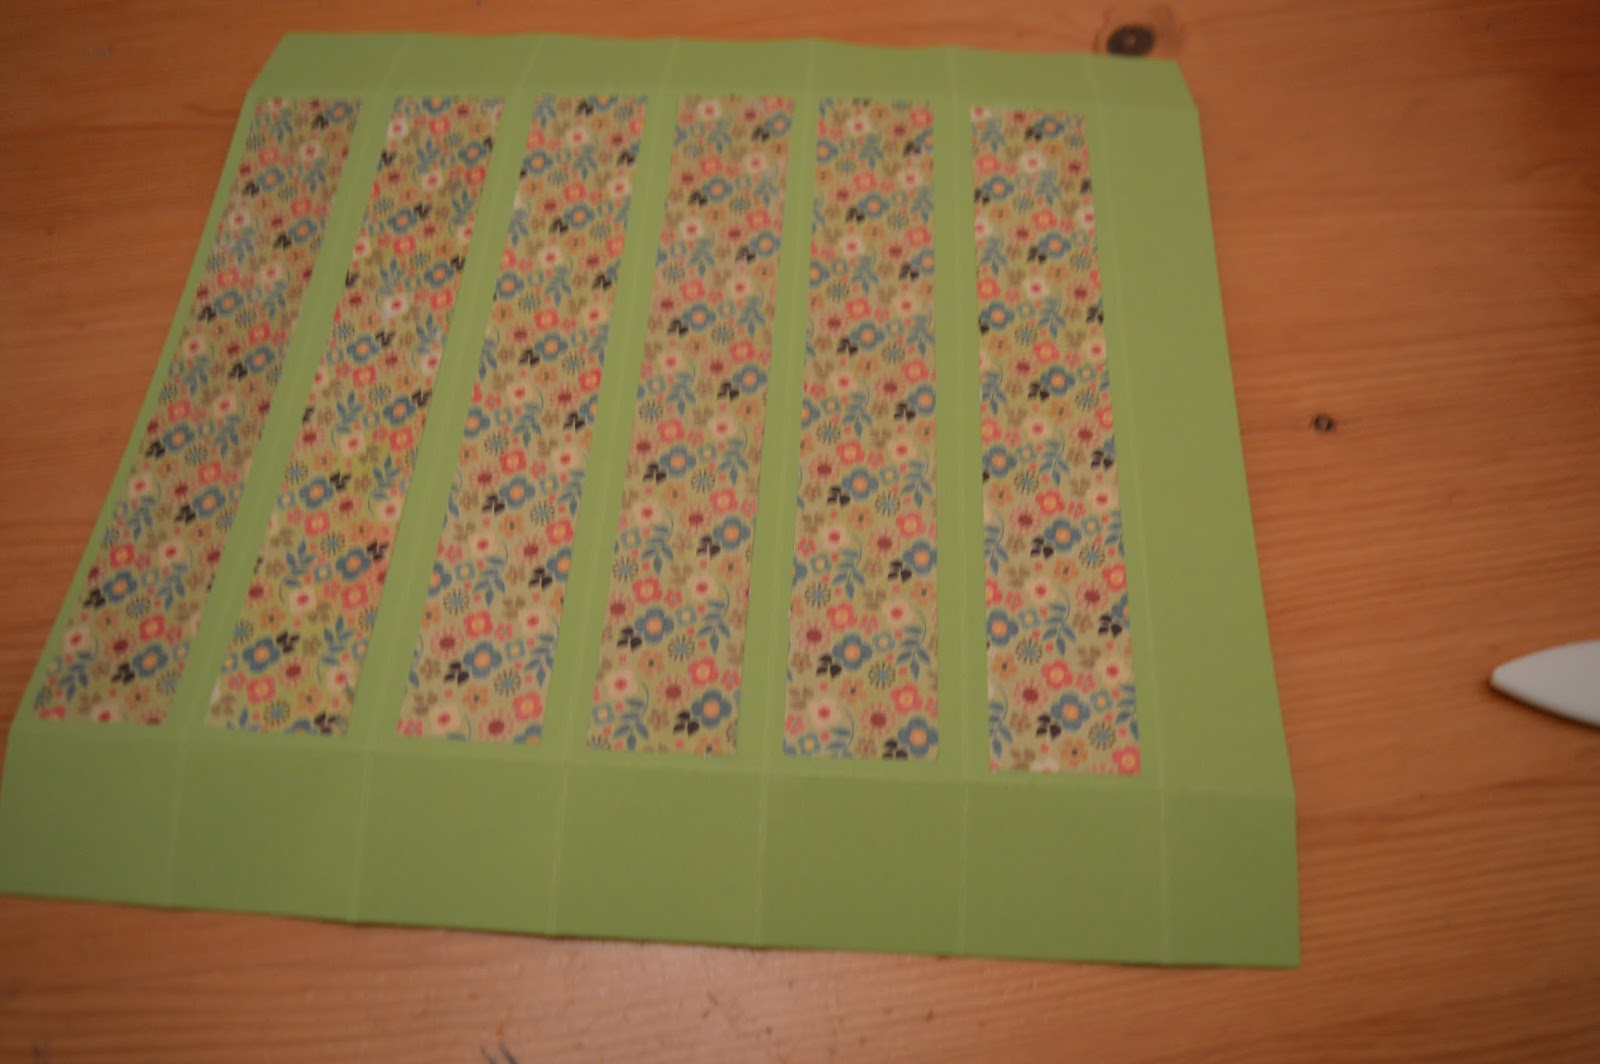
2) Score on the long side at 1 5/8", 3 1/4", 4 7/8", 6 1/2", 8 1/4" and 9 3/4". Then on the short side score at 1 3/8" then turn 90 degrees and score again at 1 3/8"

3) Cut six pieces of dsp to 7 3/4" x 1 1/4" and adhere to the first six long rectangles. The last one should be slightly small than the rest.
4) Remove the bottom right rectangle then cut up into the scorelines between all the squares on the bottom. Notch in slightly on the bottom of the tab to the right

5) Turn your card 90 degrees and remove the bottom left rectangle and cut into the the scorelines between the squares as you did in the previous step. This time however notch in both sides of each squares, almost as if you have cut small triangles between each sqaure
6) Using a single hole punch, punch two wholes in each tab towards the small end. Try and keep in a straight line.

7) Wrap your card around your wine bottom, the squares will fold up around the bottom

8) Neatly fold up each squares and use an adhesive to permanently stick


9) This is optional but to conceal the bottom on the box punch out two circles - any size as long as its smaller than the the bottom - and stick the bottom of your sleeve. I did one in dsp to help make it look nicer


10) Cut a piece of dsp 1 1/2" x 4 1/4"

11) Wrap your piece of dsp around the top of your wine bottle

12) Finally to finish off thread some ribbon in and out of each hole in the top of your sleeve and tie a bow to secure!
There you have it! Bottle and gifts shaped awkwardly are so difficult to wrap and I think it's nice to have a different way to 'wrap' it when you are giving it to a loved one as a present. This way it can still be a surprise to them exactly what's inside!
I really hope you enjoyed this tutorial. Please be sure to let us know in the comments down below if there is anything you would like to see. We have some fun posts planned for the next couple of months.
Susan x
No comments:
Post a Comment