
Hey everyone! I can't believe it's Sunday already. I feel like this week has gone unbelievably quick.
I wanted to share with you a quick tutorial on this card I created. I wasn't sure what to call it but I think it makes for an interesting card. It's also great for beginners or if you're in a rush.

Normally when I make cards I have to stamp some form of sentiment on the front of the card and also on the inside. I love how with this card you just have the one stamp which covers you for the inside and outside yet the card still looks decorative.
It's so easy and simple to make and you can add whatever design you would like! If you want to find out how to make it then just keep reading.
Steps:
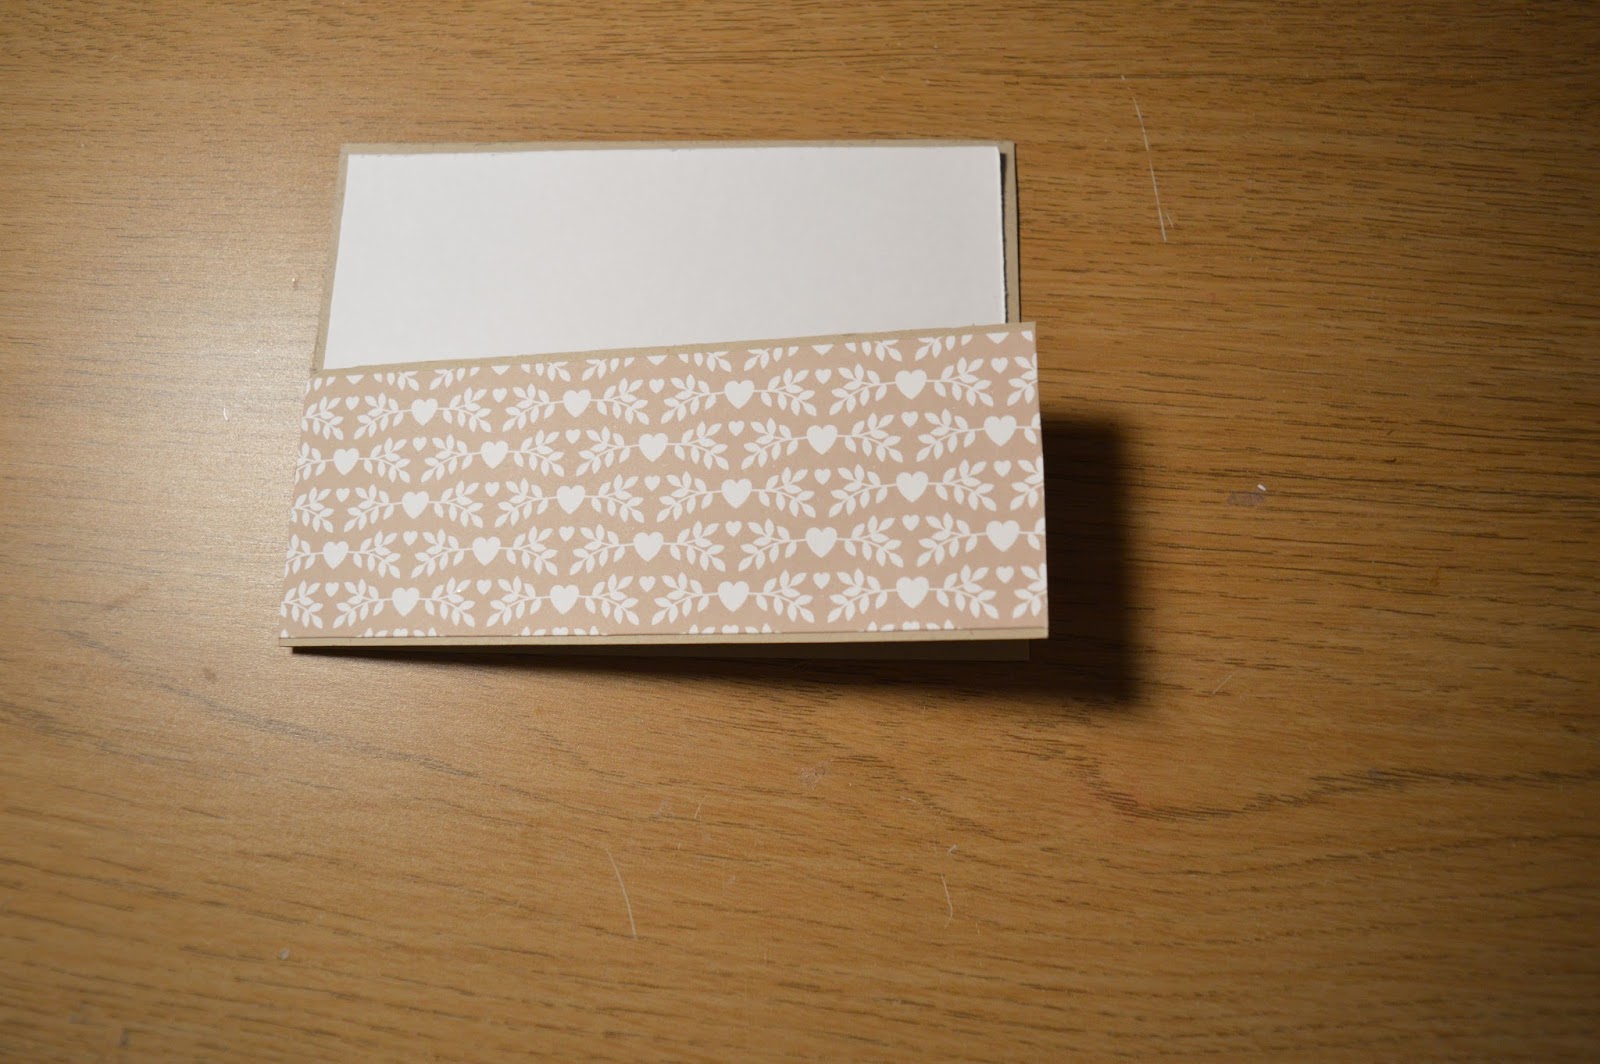
1) You will first need to cut a piece of cardstock to 11" x 4" and score at 5 1/2". Open to card out and on one side and place the long edge on 2" on your paper trimmer. Cut across to the 5 1/2" scoreline to create the front flap


2) Cut a piece of white (or any light colour card) to 5 1/4" x 3 3/4" and adhere to the inside. Cut two piece of dsp to 5 1/2" x 1 3/4" and stick to either side of the front

3) This is the part you can experiment with, I cut some flowers I stamped to put on my card but you could do whatever fits your theme for your card

4) I also stamped a cut a larger flowers

5) Stamp your sentiment on the inside of your card above your flap so you can see it when the card is closed

6) Use some dimensional to add your bigger pieces to the card to add some depth. I attached mine so it peaked over the top

7) Add any other embellishments you would like

I added some gems to the flowers and also the flowers to the inside


With this card you can add as much or as little as you would like. It would be perfect for any occasion!
As you can see it's super simple to make you can could do different shapes and sizes. You could even remove the bottom half instead of the top!
I really hope you enjoyed this tutorial. I absolutely love doing these. If there is anything else you would like to see then just comment down below.
Happy crafting!
Susan x
No comments:
Post a Comment