
Hey everyone!
So in Sundays post I showed you how you can create your own easter basket. It's perfect for children so I thought it would be fun to show another way you can create your own easter basket which is perfect for slightly older children. Even adults would appreciate it.

I saw a picture of this a while ago and have been eager to re-create it but I was waiting for the perfect occasion. This is now the perfect occasion!
It's super simple to make and with 99% of things I have shown you on my blog you can change things to suit your liking and embellish as much or as little as you would like.
If you want to find out how to make it then just keep reading.
Steps:
1) The first thing I did was cut out four circles. I used the circle stampin' up! die set. For the coloured card stock I used the biggest circle which is the scallop one and for the dsp I went two sizes down. You could just go down one size if you want. You will then need to adhere your dsp circles to your card

2) Place your circles on your scoring board and score 1" in. You will need to fold so the dsp folds back. See picture below

3) You will then need a piece of card the same colour as your scalloped circles cut to 8" x 4"

4) Score on the long side at 2 1/2" and 5 1/2" then on the short side at 1" and 3". Then turn your card so the 4" is at the top and score at 2" to the scoreline below. Do this to the top and bottom. Fold your partial scorelines the opposite way to the rest. You also need to cut into either side of your center rectangles on the " side

5) To punch the holes for the handle I used the stampin' up! label punch. You could also use a small circle punch. Punch your shapes towards the top in the center

6) Cut the corners off the your card so it doesn't show through the handles. See picture below

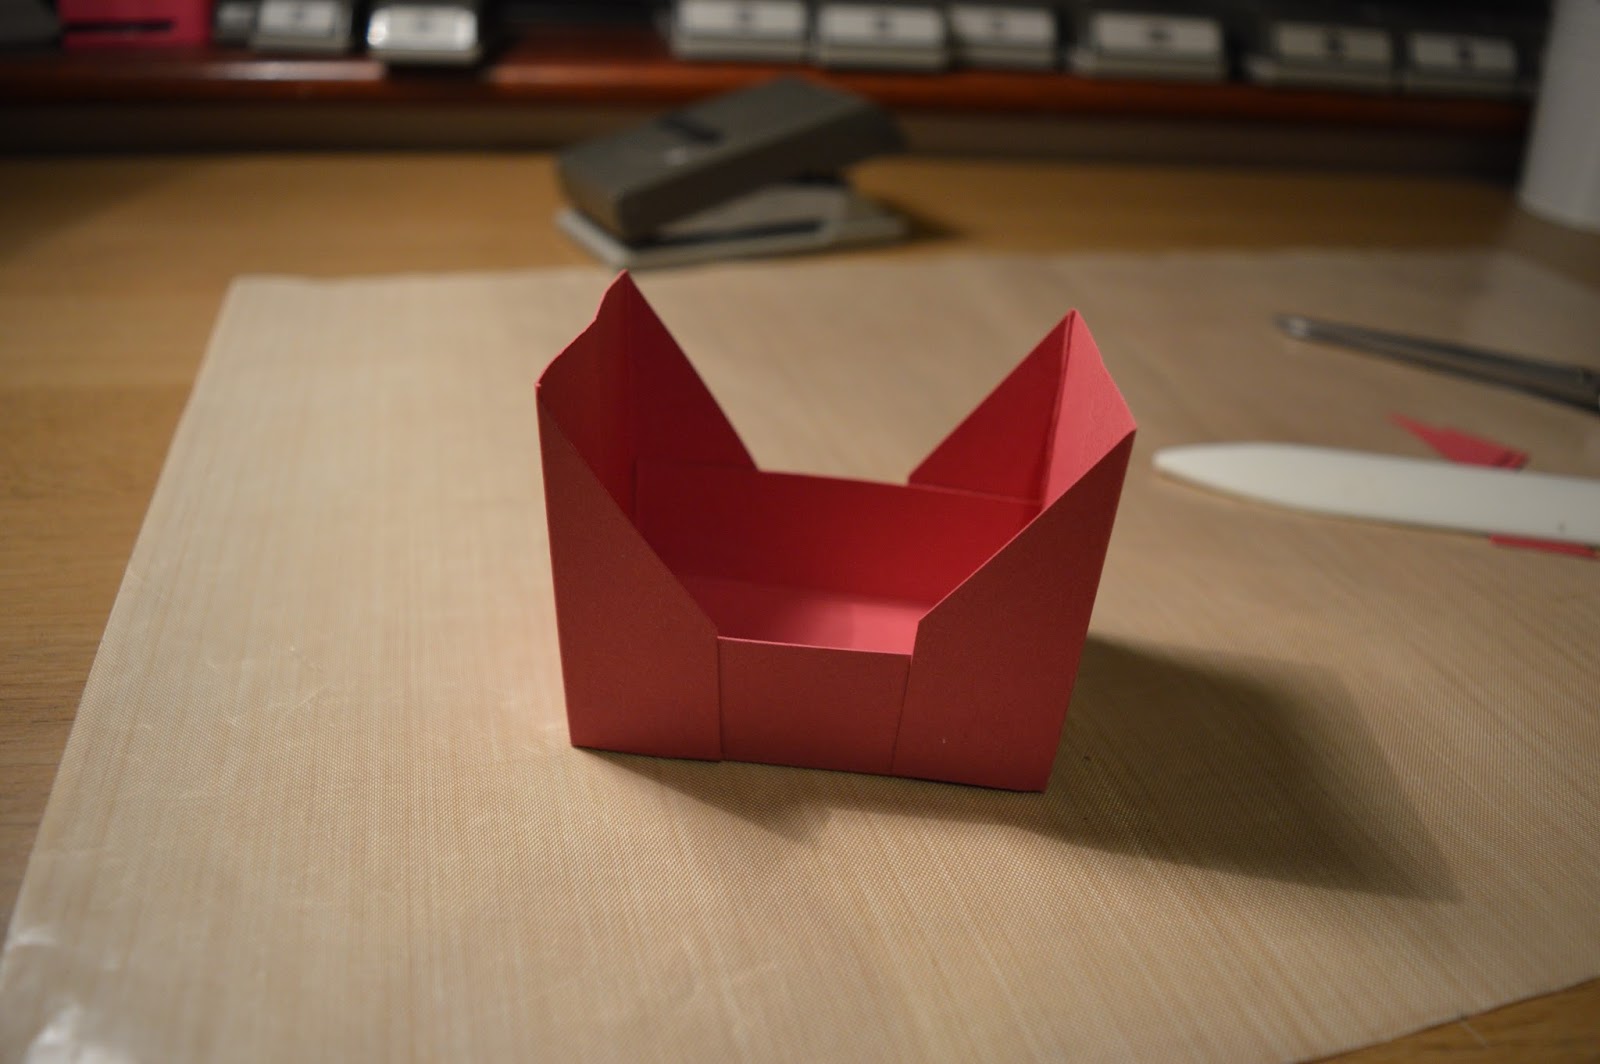
7) Put some glue on the flat sides of your notched rectangles and fold to adhere to the center rectangle

You should see your box formed
8) Put some more glue on one of your side (not the square side) and stick to the back of one of your circles. The bottom of your box should line up with the scoreline of your circle

9) Place some glue on the bottom of your circle and attach to the bottom of your box. Repeat on the opposite side with your other circle


10) Finally add some embelishments to decorate and your are done!


Super simple and easy. Just as the other one you can fill it with whatever goodies you would like!
I really hope you enjoyed this tutorial. If there is any other easter posts you would like to see then be sure to comment down below.
Happy crafting! & Easter
Susan x
No comments:
Post a Comment