
Hey everyone and welcome to another post!
So my last one was showing you how you can create some very cute cards which are ideal for any occasion. I explained how you can get away without putting any embellishments on the front of the card so then you could fill out the inside for any celebration!

Another fun thing you can do with these card is make a bunch, pop them in a box and gift them to someone who loves all things handmade! They can then use them however they like. I have quite a few friends and family who frequently ask me to make cards for them and this is exactly what I do for them so they can use them to their liking.
In todays post I will show you how you can create the box to fit the cards I did in my last post. It's so quick and easy and I use the same colour scheme to everything would match.
Check out how to make the cards for this box here.
If you want to find out how to make the box then please keep reading.
Steps:
1) For the base of the box cut a piece of card 7 1/2" x 7 1/2" and score 1" on all four sides

2) On one side cut into the scorelines on the inside at the square and notch in on both sides. Repeat this on the opposite side. It should look like the picture below

3) Apply some adhesive to the bottom of the sqaures, turn and stick the rectangle between the two squares to create your base


4) For the lid of your box cut a piece of card 6 1/16" x 6 1/16" and score 1/2" on all four sides

5) Again as you did with the base, cut into the scorelines on the inside of the squares and notch in on both sides. Repeat on the opposite side

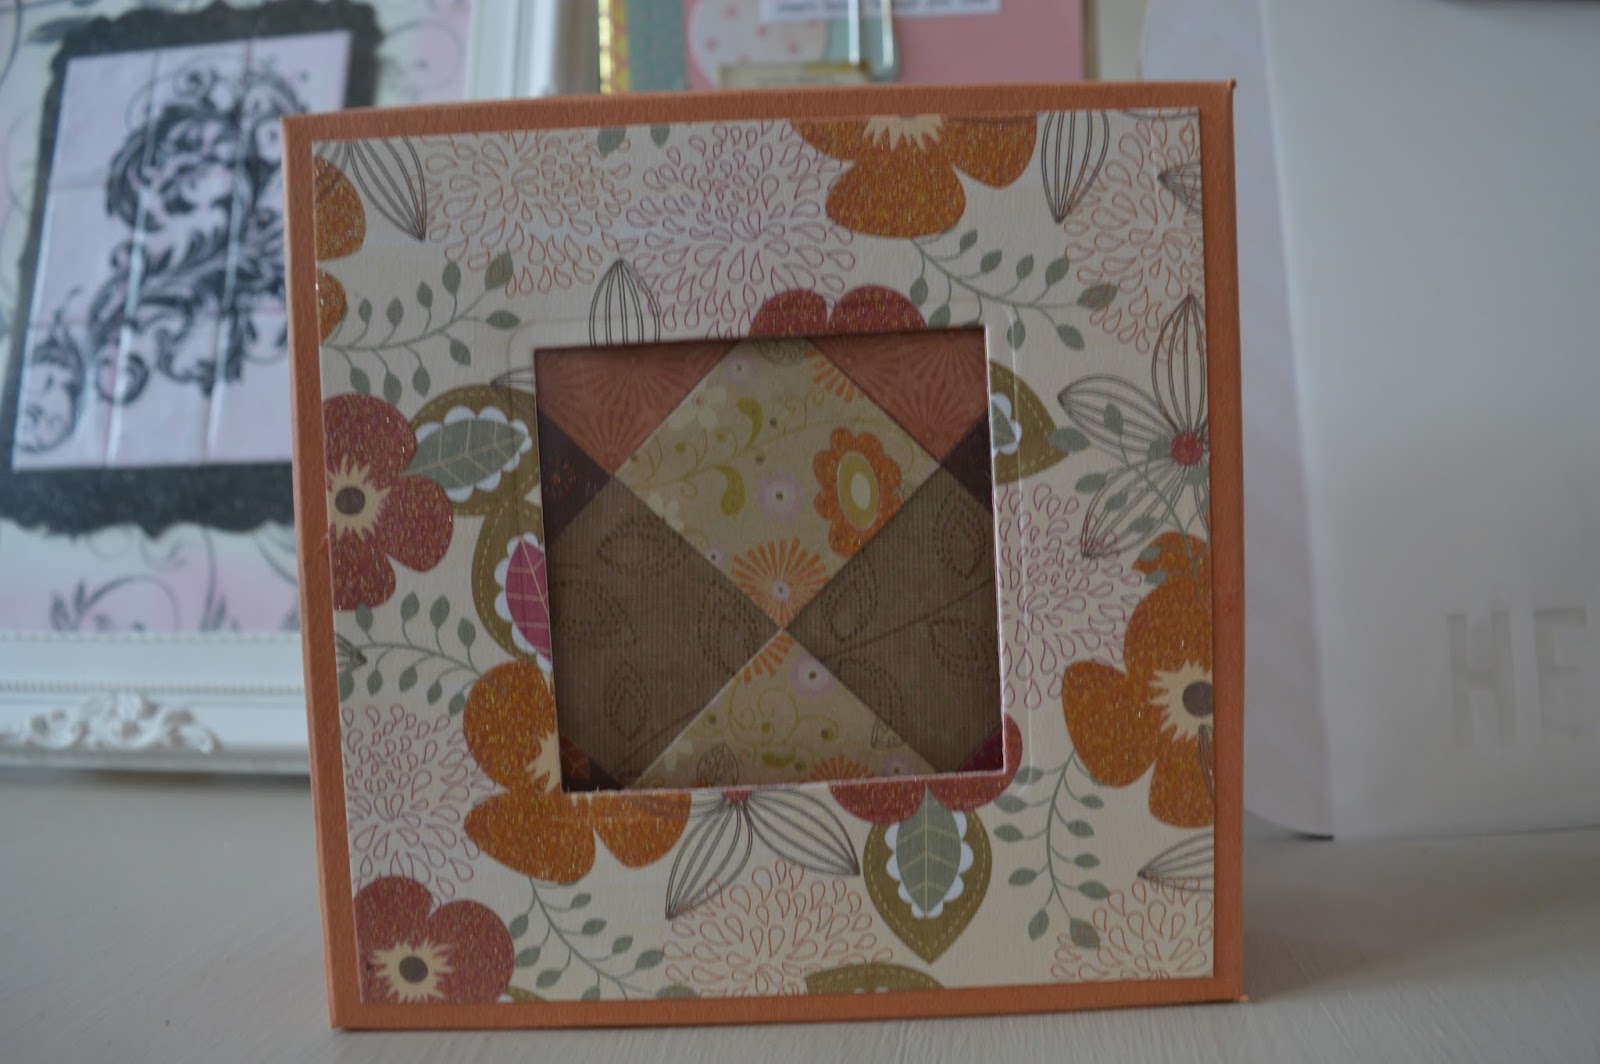
6) Cut a piece of DSP 4 3/4" x 4 3/4" and adhere to the top of your lid

7) To create your window use whatever shape die you would like. I chose a small sqaure


8) Stick your box together as you did with the base. I recommend using a liquid adhesive for this, like the Tombow, as it gives you time to make sure it's straight

9) Stick a piece of acetate to the underside of your lid making sure its slightly bigger than your window. Mine was 3 1/4" x 3 1/2"

10) Place your cards inside your box, pop your lid on and you are complete! You could wrap a box around as well if you wanted to keep it closed


I really hope you enjoyed this post! I love this because it's so quick to make and you could create so many different designs.
It's even a good idea for yourself to store cards you make, then when you are finding the right one to suit your recipient you can easily find it. Be sure to give it ago and send us your pictures.
Let us know what else you'd like to see on the blog.
Happy crafting!
No comments:
Post a Comment