Hey everyone and welcome to another post!
Today I have another step by step tutorial on this card. I seem to be making a lot simple cards lately and I have been having so much fun trying different techniques to give them something extra.
This is so simple to make. You just need some square dies and dimensionals. You could just cut out square shapes if you don't have dies or a big shot.
If you want to find out how you can make this then please just keep reading.
Steps:
1) You will first need to take three square dies. There should be two size difference between one to another to create a thick border
2) Cut out a square and two frames with your dies on some DSP paper
3) Cut out a piece of DSP with the scalloped square die from the Stampin' Up Square Die Set
4) Stamp a pattern on your DSP if it's plain
5) Adhere your largest frame to your scalloped squares so it's flat then with the next size down frame, adhere with one layer of dimensionals
6) Finally adhere your square piece to the centre with two layers of dimensionals
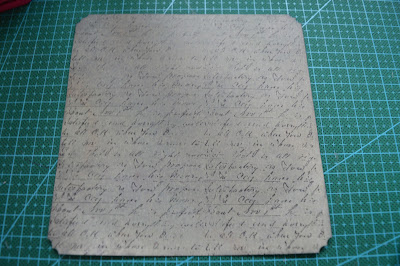
7) Cut a piece of DSP to 5 1/4" sqaure. Use a heart punch (the top part of it) and punch out each corner of the square
8) Again stamp on this piece of DSP if it doesn't have pattern
9) For your card base cut a piece 11" x 5 1/2" and score at 5 1/2"
10) Adhere your biggest piece of the your card base then finally attach your layer of squares onto the front of your card
11) Finally finish with any embellishments you would like and you are done!
I really hope this quick and easy tutorial! Be sure to give a go with different piece of DSP to see what kind of effect you can get!
Let us know what else you'd like to see on the blog.
Happy crafting!


No comments:
Post a Comment