
Hey everyone and welcome to another post!
I know I have been doing quite a few step by step tutorials the past couple of weeks but I have had so many ideas and seen so much inspiration! Also we there has been quite a few birthdays recently.
I wanted to do another quick one today showing you how you can make a beautiful happy birthday Grandma card. I thought this was very fitting as I have recently done a Grandad card.

The paper I used in this card is one of my favourite collections! My husband purchased it for me as a present and I have been holding off using it for so long as I love it so much.
If you want to find out how you can re-create this card then just keep reading.
Steps:
1) For your card base you will need a piece of card 5 1/2" x 11" and score at 2 3/4" and 8 1/4" across the long side

Fold the two smaller rectangles on the sides in towards the centre

2) Cut two pieces of DSP 2 1/4" x 5 1/4" and one piece 5 1/4" x 5 1/4"

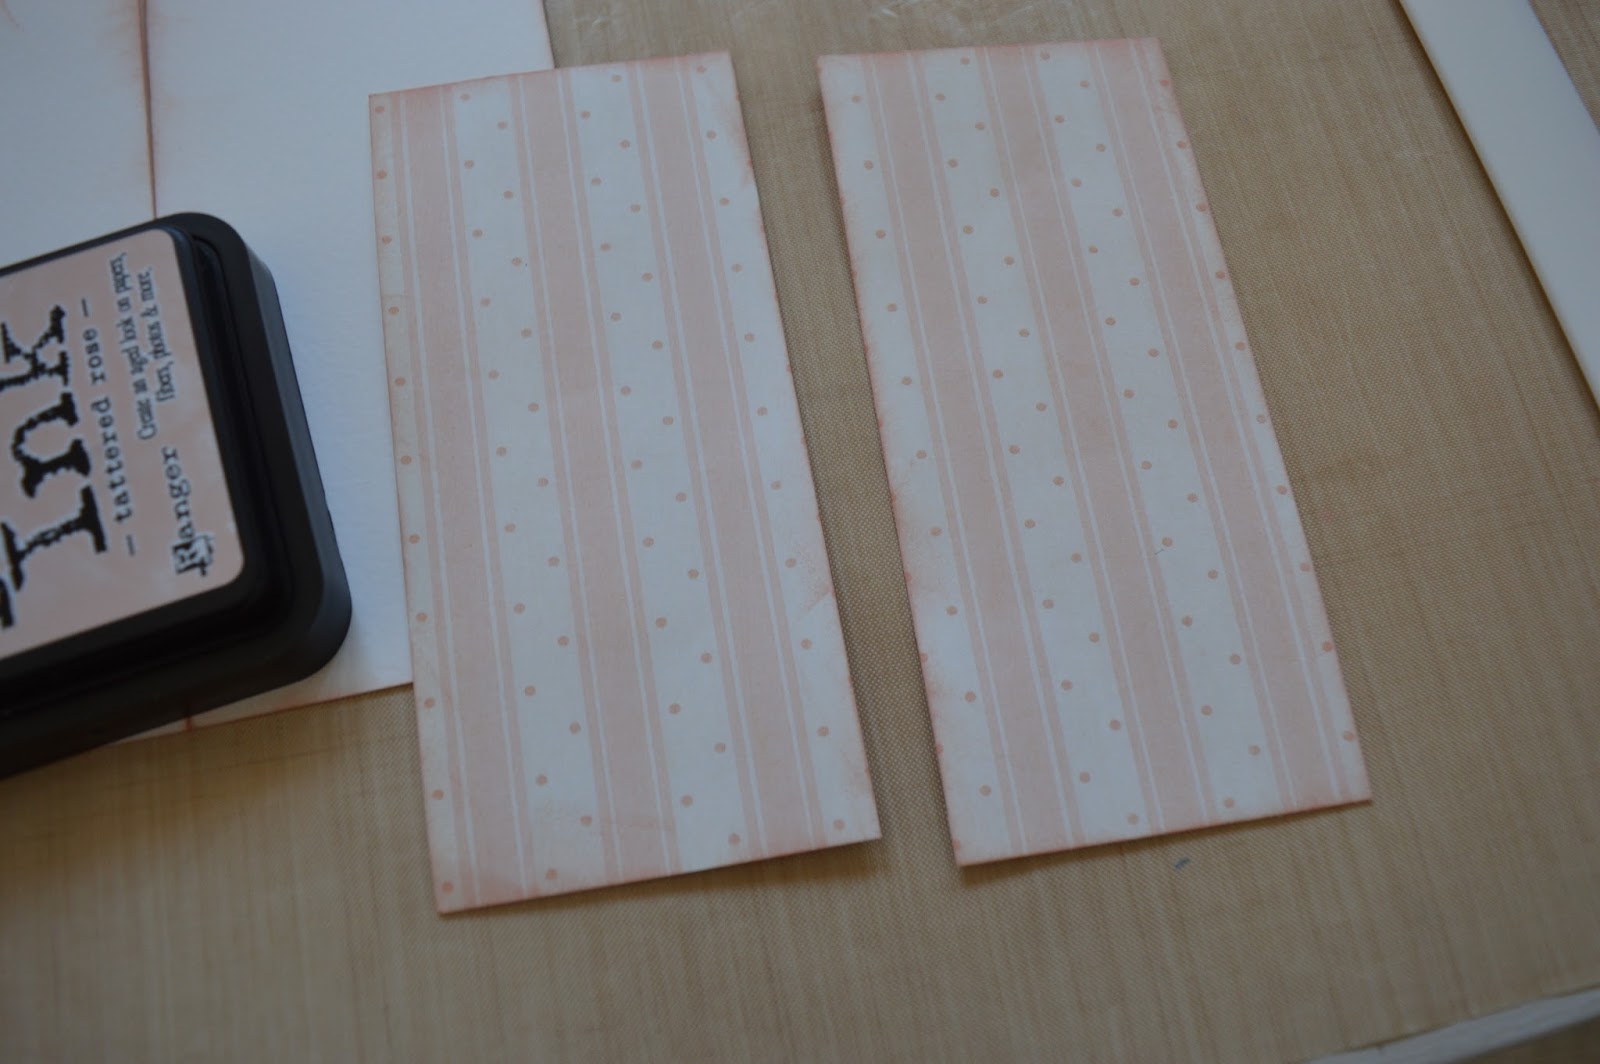
3) Using an ink that fits the colour theme of your card sponge around the edges of the front of your card. Be sure to get on the edges where the two rectangles meet in the centre. You can also repeat on the inside of your card as I have done

4) Sponge around the edges of your two smaller piece of DSP and adhere to the front of your card on the two flaps

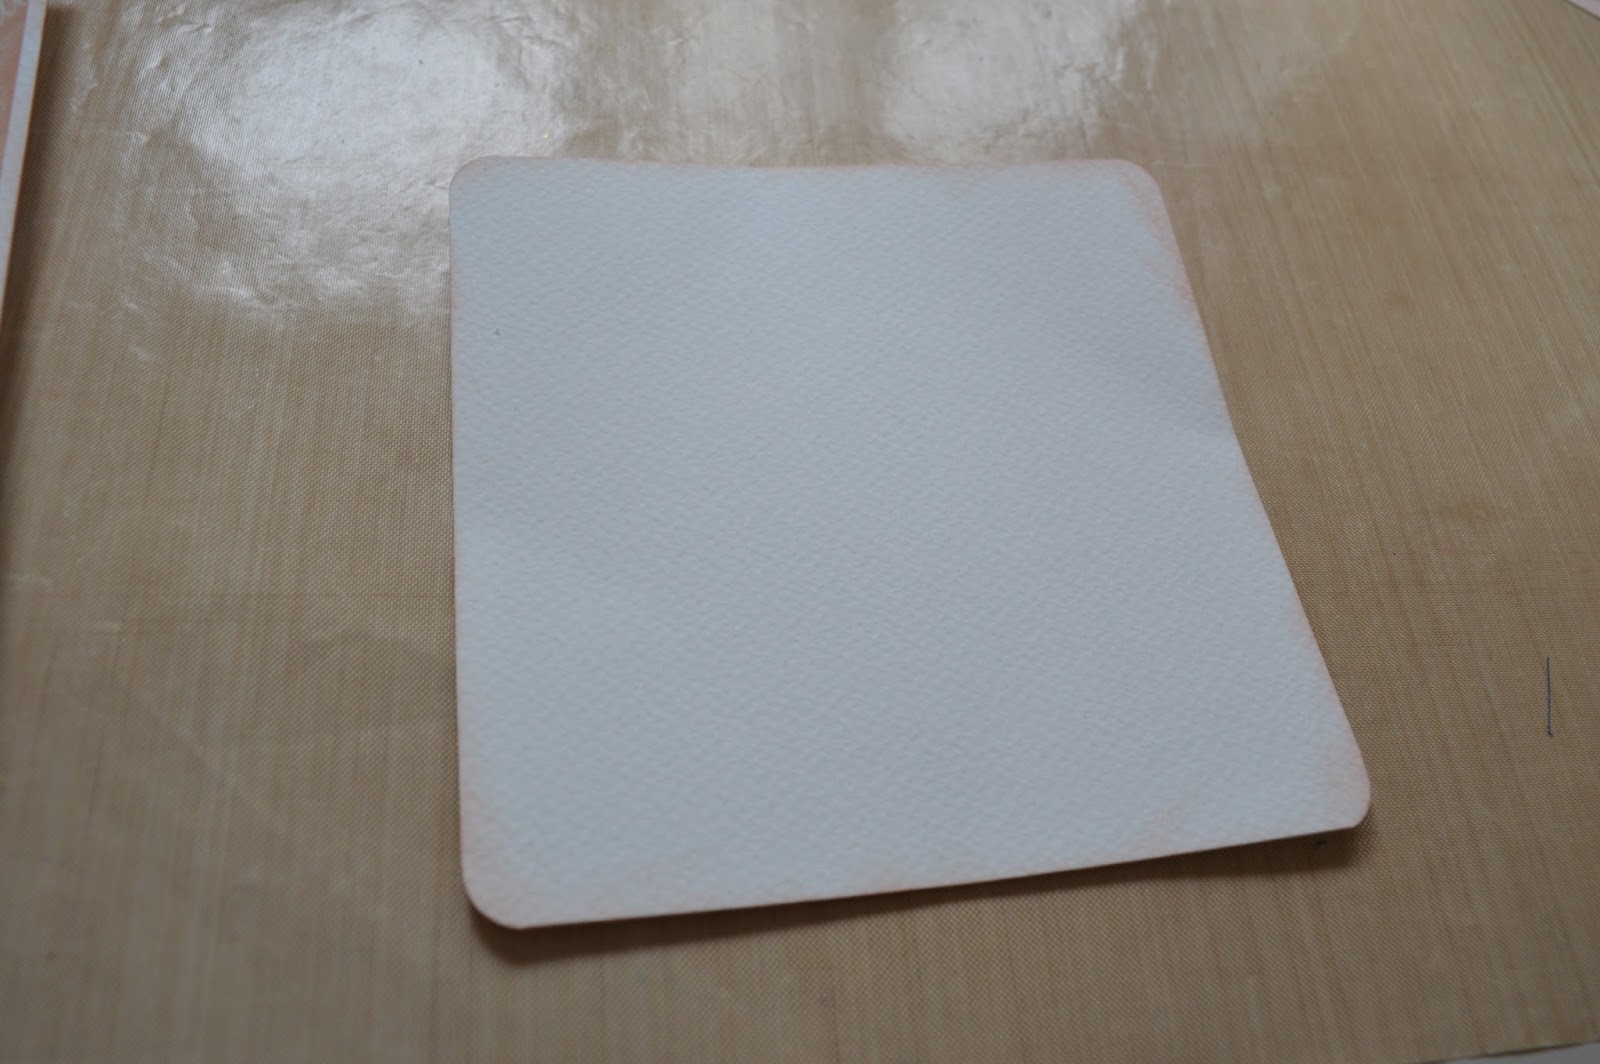
5) Sponge around the edge of the square piece of DSP and adhere to the inside of your card

6) Cut two more piece of DSP (different from the previous two) 2 1/4" x 5 1/4" and sponge around the edges. You can then adhere them to the inside of your flaps


7) At this point of making the card I started out with four panels cut to 1 1/8" x 5 1/8" but as you will later see I only ended up using two as I didn't want to cover the DSP too much. You can use as many or as little as you would like

8) Embossing your panels using an embossing folder

9) Round the corners and again sponge the edges and stick to the front of your card in the centre of the flaps


10) Cut a piece of card stock to 4 3/4" x 4 3/4". Round all four corners and sponge around the edges - can you tell how much I love that technique!
11) Adhere the card to the centre of your card on the inside

12) At this point you can add any embellishments and sentiments you would like to the front of your card and inside. I cut out some butterflies with embosslits and added gems to them. I then stamped my sentiment and cut out using a banner die


I really hope you enjoyed this tutorial. I absolutely love this card, I think it really shows the amazing DSP but it's very soft and simplistic.
You could re-create this card using a whole heap of different papers and get completely different looks. Be sure to give it a try and tag me on social media so I can see!
Let us know what else you'd like to see on the blog.
Happy crafting!
Susan x
No comments:
Post a Comment