
Hey everyone and welcome back to my blog! So today's post is going to be another step by set tutorial - I did mention I was working on quite a few projects recently!
I thought it only fitting to do a purse gift bag as I have recently done a purse gift card holder.

I gave these to my two granddaughters who absolutely love them and have filmed them with some of their favourite toys.
They are very easy to make once you get the technique down and as you can see, you can create two very different style bags.
If you want to find out how you can make your own then just keep reading.
Steps:
IMPORTANT: You need to be sure you lay your paper the right way on your scoring board before you begin to score. The pattern has to be going the right way on the right and left hand side of your paper (imagine you turn your paper 90 degrees). So the top and bottom the pattern should be essentially the wrong way. This is only important if you have pattern that can only be seen a certain way up
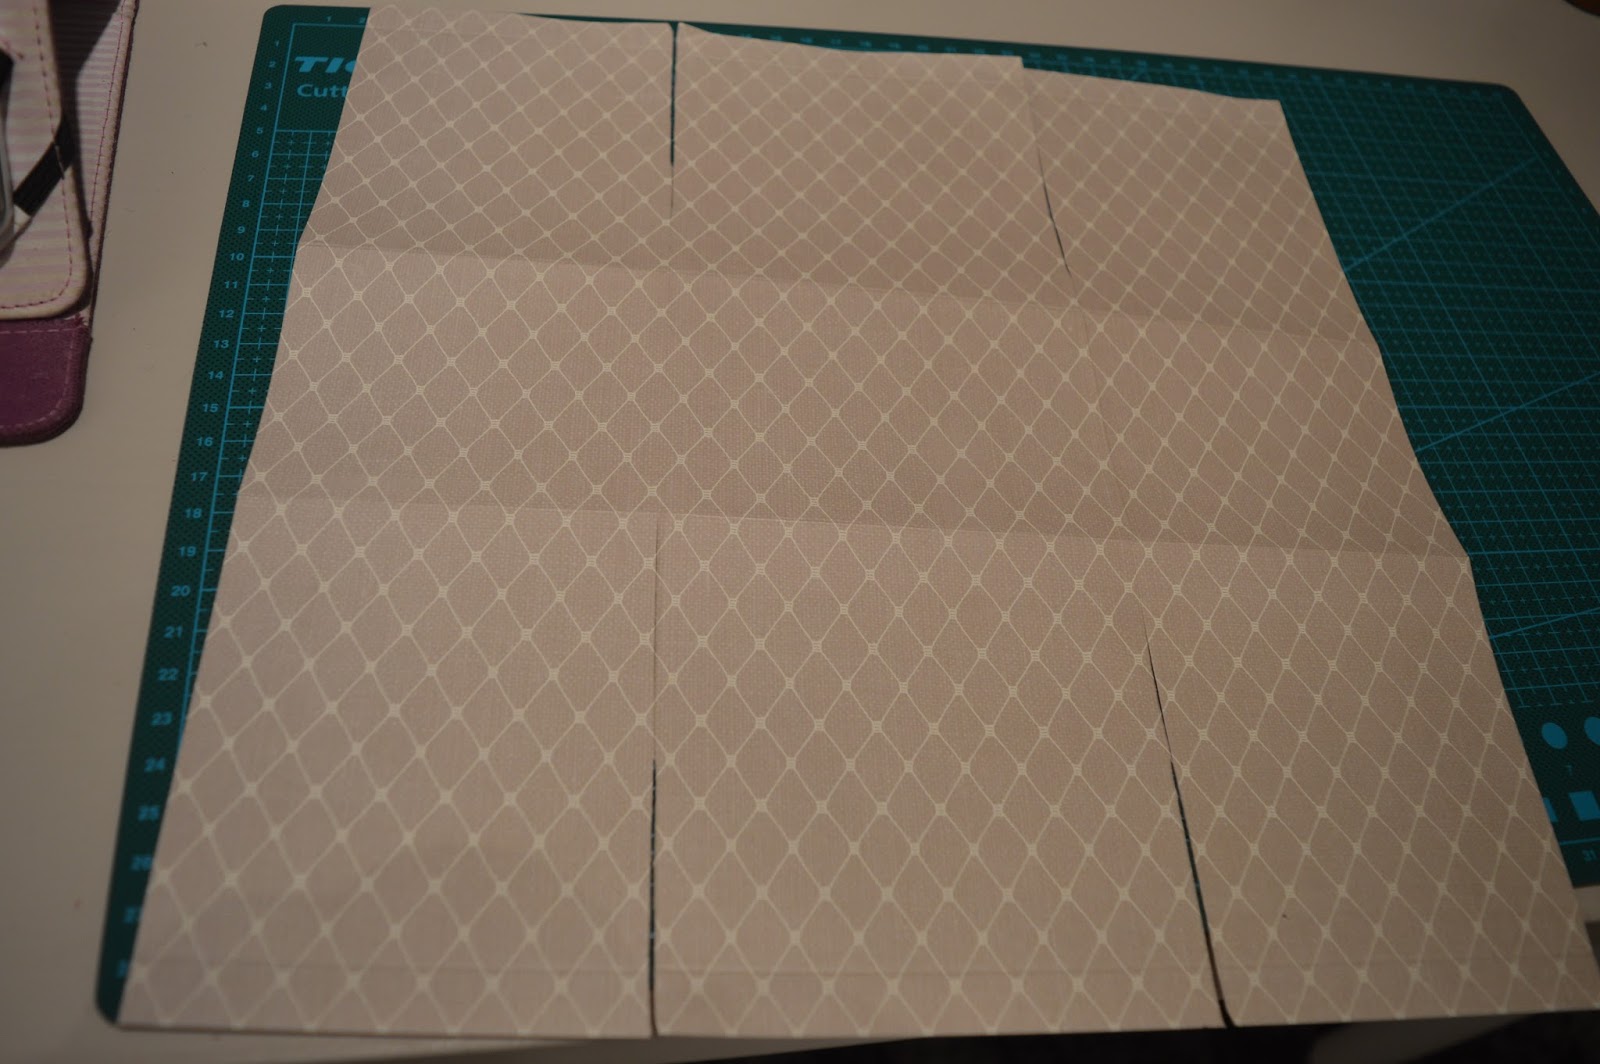
1) Take a 12" x 12" piece of paper and place it on your scoring board taking into account what is said above. Score at 1/2", 4 1/2", 7 1/2" and 11 1/2". Turn your paper 90 degrees clockwise so the top/front of your bag is at the top and score at 3 3/4", 8 1/4"

2) Fold and burnish all your scorelines except for the 1/2" sides

3) Cut into the two scorelines on the two opposite sides where the 1/2" scorelines are up to the scoreline below. So you should cut four scorelines

4) Apply a generous amount of adhesive to the two squares you have cut leaving the centre one. Adhere one at the time to the centre loose flap to create the front/back of your bag. To make this easier you can fold both flap in towards the centre, stick them together and then finally attach your third piece on top


5) Repeat on the other side where you have made cuts


6) Fold down your 1/2" scorelines on the front and back of your back


7) Cut a piece of DSP 3" x 5" and round all four corners


8) Adhere around 1/3 to the back of your bag but don't put glue all the way to the top

9) I used velcro for my closure. I adhere two piece to the part of the DSP that would go on the front of my bag and squeezed the bag and folded my flap over so the other half of the velcro would adhere where I wanted it to


10) Cut four 1" strips at least 5 1/2" long and using a border punch to create a pattern. You could just do this for the bottom but I wanted to add some to the top. Attach these to the top and bottom part of your bag and just trim any excess. I just missed the flap on my bag at the back

11) For the straps cut two pieces of DSP or card 11" x 1/2" and attach to the sides of your flap with some brads

12) Finally finish with any embellishments you would like and you are finished!
I love how these turned out I think they are so cute. Perfect for gift giving at any age. Be sure to give them a try and see what kind of styles you can create!
Let us know what else you'd like to see on the blog.
Happy crafting!
Susan x
No comments:
Post a Comment