
Before I go onto explaining today's tutorial I wanted to give a quick mention to another blog I have been following for a while now. The blog is run by the absolutely lovely Whitney and features many crafting tips and tutorials as well as some decor ideas and even some helpful ADHD tips! She recently posted a tutorial using my DIY embossing paste. I was extremely happy to be mentioned on her blog and she was very kind to me credit in her post!
She made a beautiful DIY Jewellery display and I would highly recommend you check it out and also the other posts she has done.
This is her blog http://www.craftingforpurpose.com. Be sure to subscribe so you don't miss a post!
Thanks again Whitney.
So in todays post I wanted to show you a card I had made which was inspired by some glitter card stock I purchased. I wouldn't normally used glitter card stock on my cards so I wanted to try something slightly different. I intended this to be geared towards a younger crowd however I love how it turned out and I think it would be perfect for anyone!

I love how the piece in the frame isn't completely translucent and the black on it really pops! You could really experiment with different colours and different patterns so this method would work for so many different cards and occasions.
If you want to find out how you can make it then just keep on reading!
What you will need:
- Pink card stock cut to 11" x 4 1/2" scored at 5 1/2"
- Big shot
- Sizzix oval die set
- Glitter paper or card stock
- Tracing paper
- Stamp - I used free stamps I got with a magazine
- Clear embossing ink
- Black embossing powder
- Scrap card stock - pink, black and glitter
- Thinlits - I got mine free in a magazine but unfortunately I can't remember which one :(
- Stampin' Up! Butterfly embosslits
- Thin ribbon
- Pearl adhesives
- Adhesives of your choice

Steps:
1) The first thing you need to do to make this 'Best Wishes' card is cut your pink card stock to 11" x 4 1/2" and score at 5 1/2" to make a top folding card
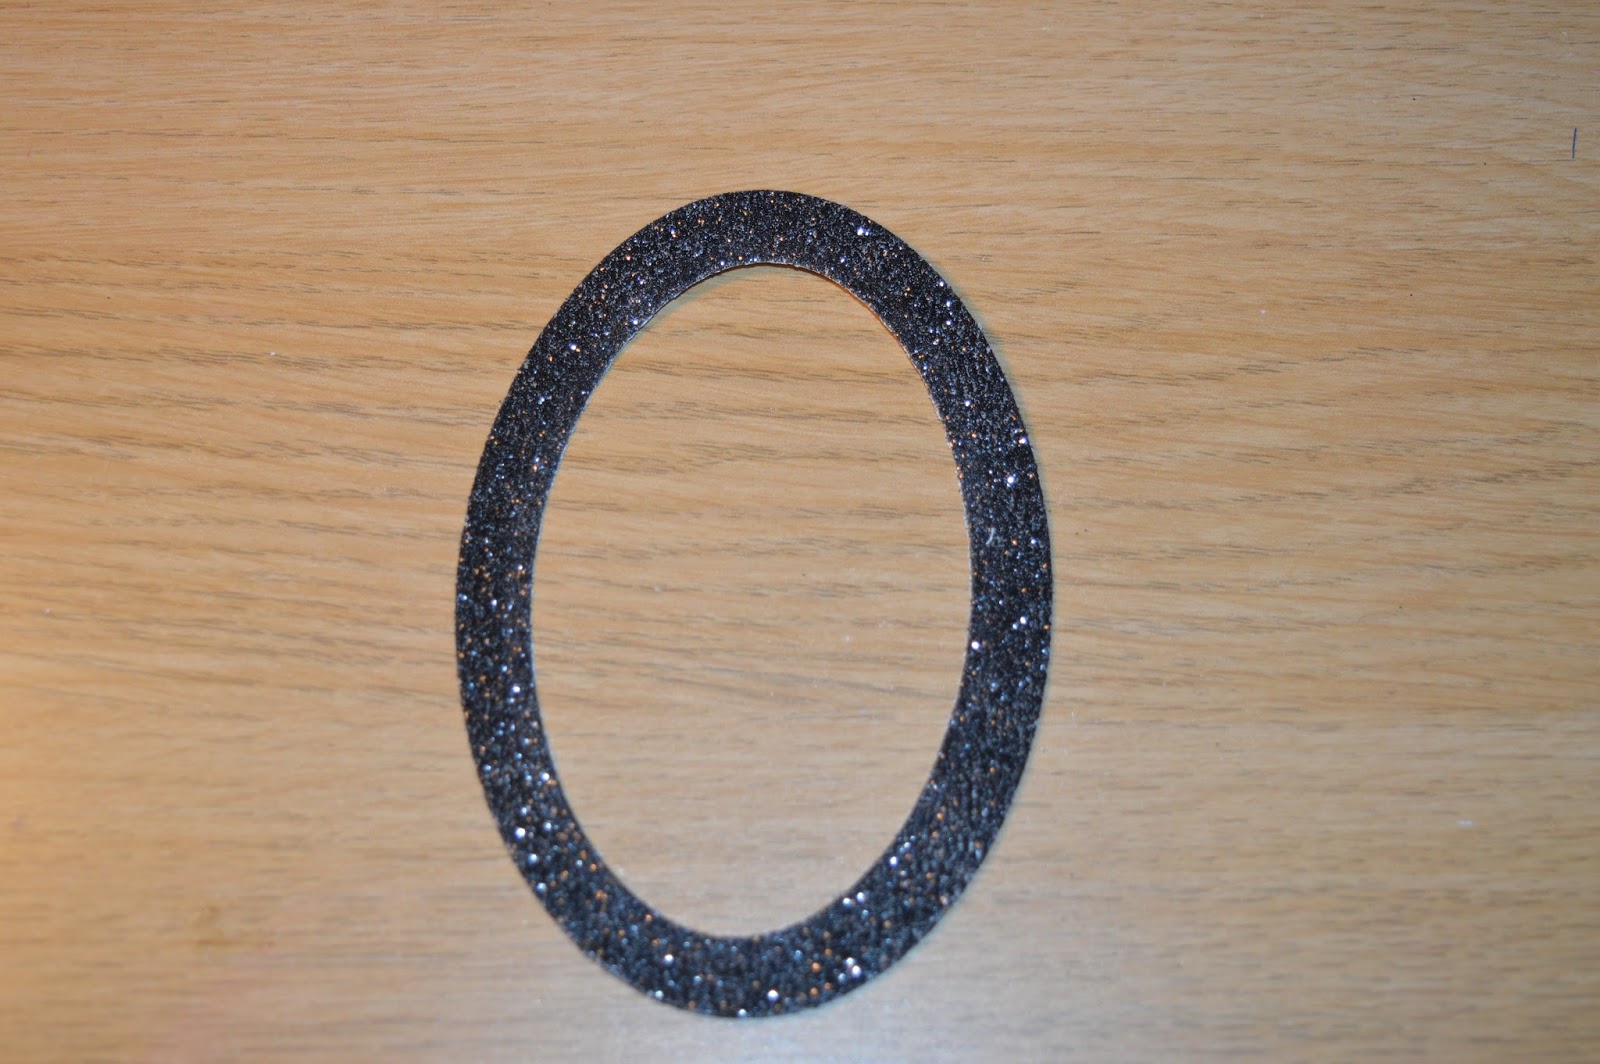
2) To get the frame in your card take the Sizzix oval die set and cut out the center with the 5th biggest one


3) Then with the same die set take a piece of glitter paper or card stock and cut out a frame using the 5th and 7th biggest ones. It's a lot easier to do both at the same time so you can get the smaller one central


How beautiful is this glitter paper
4) To make the piece for inside the frame take some scrap tracing paper and use the 6th biggest die to cut out another oval. This will fit nicely over the empty space on your card and easily be covered by the frame

5) Chose your sentiment and any other stamps you would like to use and stamp onto your tracing paper with clear embossing ink. Chose a embossing powder and heat set with your tool. (TIP: Use a colour that will stand out and tie in the rest of the card. I felt white wouldn't be bold enough and the black tied in nicely with the black glitter paper)


6) Stick the piece from the previous step onto the front of your card. As I mentioned earlier the edges will be covered by the frame.

7) Stick your frame onto the front also to give your sentiment a border

8) I got some thinlits free in a magazine and I thought they would be perfect for this card. I used them to cut out two corner pieces again in the black glitter paper. (TIP: Use a fine brush and glue to adhere these pieces)


9) To get the cute little butterflies on the card use two pieces of scrap card stock - one the same colour as your card base and a matt black one. Then take the butterfly embosslits from Stampin' Up! and cut out two sets of flowers in the Big Shot. Be sure to follow the instructions as you wouldn't want to break your Big Shop machine!


10) Add all your embellishments onto your card. I also added a small bow onto mine with a piece of thin ribbon. Make sure you position your pieces on the card before permanently adhering them down to avoid making mistakes!

I love it! I feel like this is very different to what I usually make and when I first showed my family it they were very surprised - in a good way!
Stepping out my comfort zone is something I usually try to do when it comes to crafting and it's really allowed me to see what things work and what doesn't. You will be surprised what you end up loving!
As I mentioned earlier this card can be adapted in so many ways. You could swap the colours to match for a particular occasion and it's almost effortless. I feel with the glitter you don't need a whole lot as far as embellishments go because it adds such a pop to the card!
Leave any requests down below of what you would like to see in future posts. I was in the kitchen for my last tuesday session so I'm really excited for you to see what I came up with!
Don't forget if you re-make this tag me on twitter or instagram or you can use the hashtag #sukilucrafts.
Happy crafting!
Susan x
No comments:
Post a Comment