
This one will be short and sweet but I hope it will inspire some of you to try out a new technique. I always love trying out new things as it broadens my abilities and allows me to create so many new and exciting things. Plus it's a brilliant excuse to spend a few hours in my craft room playing around with my crafting items!
In many of my projects I use embossing ink and/or embossing powder to add some texture to my work, make something pop or add some shine to plain paper or card stock. This is so much fun and relatively easy to do and I have recently discovered another use for embossing ink that I think is so different and you can achieve so many things using it.
You can purchase Perfect Pearls in an array of colours from crafting suppliers like The Range or Hobbycraft and you can actually use these over the top of embossing ink to get a beautiful effect. Perfect Pearls is a very finely milled almost metallic powder. It's is absolutely beautiful but I have never really had a use for it. Until now!!

This is a very fun easy method to experiment with so if you want to find out how to achieve it then keep reading!
What you will need:
- Black card stock
- Butterfly stamps of your choice
- Clear embossing ink
- Wet wipe or baby wipe
- Fine brush - I used a paint brush
- Perfect Pearls - I purchased mine from The Range

Steps:
1) The first thing you will need to do is take a wet wipe or a baby wipe and dry it out. There are two ways I did this, put it over a radiator (it would have to be on so keep this mind) or you could take your heat tool and dry it out with that. Be extremely careful using your heat tool as you don't want to burn yourself. You could perhaps even try it with a hair dryer.
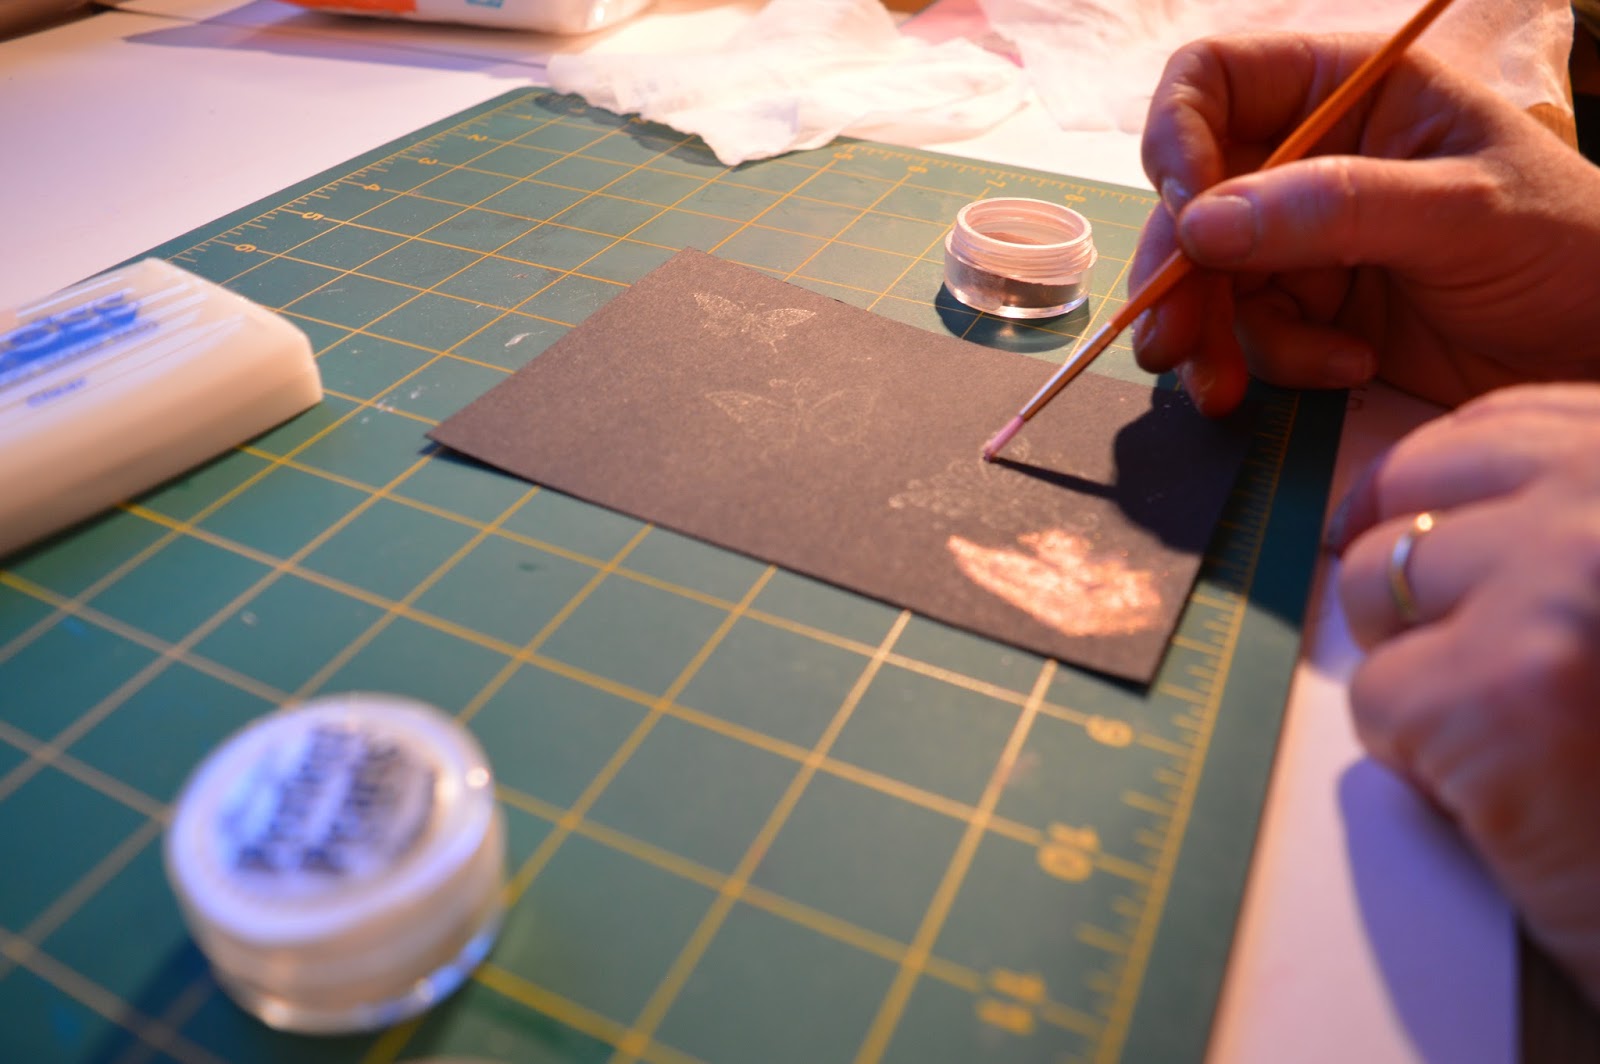
2) Stamp your chosen pattern onto some cardstock with clear embossing ink

3) The next thing you will need to do is paint your perfect pearls over where you stamped. Do this with a very fine brush. The great thing about this technique is that you have so much control you can paint different parts different colours!

4) Once you have finished then leave it for a minute and very gently wipe off the excess with your dried out wipe. You can wipe with more pressure once you have started as you will be able to see where you stamped it. Just make sure you don't wipe too hard over your stamped area


How beautiful does it look!!! I think it's such a different look from simply stamping your pattern and embossing it. It's has a beautiful sheen in person which I love!
As with last Wednesday's post (you can find it here) I turned my finished product into a card. I found some butterflys I had cut out using an embosslit in my scraps so I added them on it, rounded the corners and put it on a purple card base.


Simple! Then you could add your sentiment on your card and you would have created something that looks so detailed and beautiful in no time at all. I think it would look really cool having your sentiment embossed in white on this particular card.
I would definitely recommend trying this out. I actually went out the next day and purchased more colours of the Perfect Pearls so I could try out different stamps and different designs! Once you start doing it your mind will fill with different ideas of what you could try. I love that!
I really hope you enjoyed this realatively short post and it has made you want to give it a go!
How you would you feel about it a bonus post this week? One of my daughters was very lucky to watch the flight of a plane here in Great Britain that was being flown for one of the last times. She took some amazing pictures of it so I was thinking of having her do a guest post showing you the pictures and giving you some information about it. It was a plane first flown in 1960 and is now retiring in 2015. If you can guess what it is let me know in the comments below and if you would like to see some pictures from the day!
Don't forget if you re-make this tag me on twitter or instagram or you can use the hashtag #sukilucrafts.
Happy crafting!
Susan x
No comments:
Post a Comment