
Welcome to day 13 of #blogmas! Can you believe we are officially in December now?! I am so excited for Christmas this year.
I wanted to do a tutorial today showing you how you can make a simple card using minimal stamps.

I love this tree stamp, I believe I got it free in a magazine! This card is super easy to make and there so much room for experimenting. You could change up the colours to get an entirely different look. I think it would be fun to make a whole bunch of these all in different colours.
If you want to find out how you can make this card then just keep reading.
Steps:
1) For the card base you will need to cut a piece of card to 4 1/4" x 11" and score at 5 1/2". You will then need your bottom layer piece which will be 3 7/8" x 5 1/4" and your top layer piece will be 5" x 3 1/2"

2) Stamp a tree onto your top layer piece. Emboss for more of a shiny/glossy finish. I chose red to tie in with my back later piece

3) Use some scraps to cut a piece of card - the same colour as your back layer piece - to 3 7/8" x 1 1/8". Stamp your sentiment on this piece

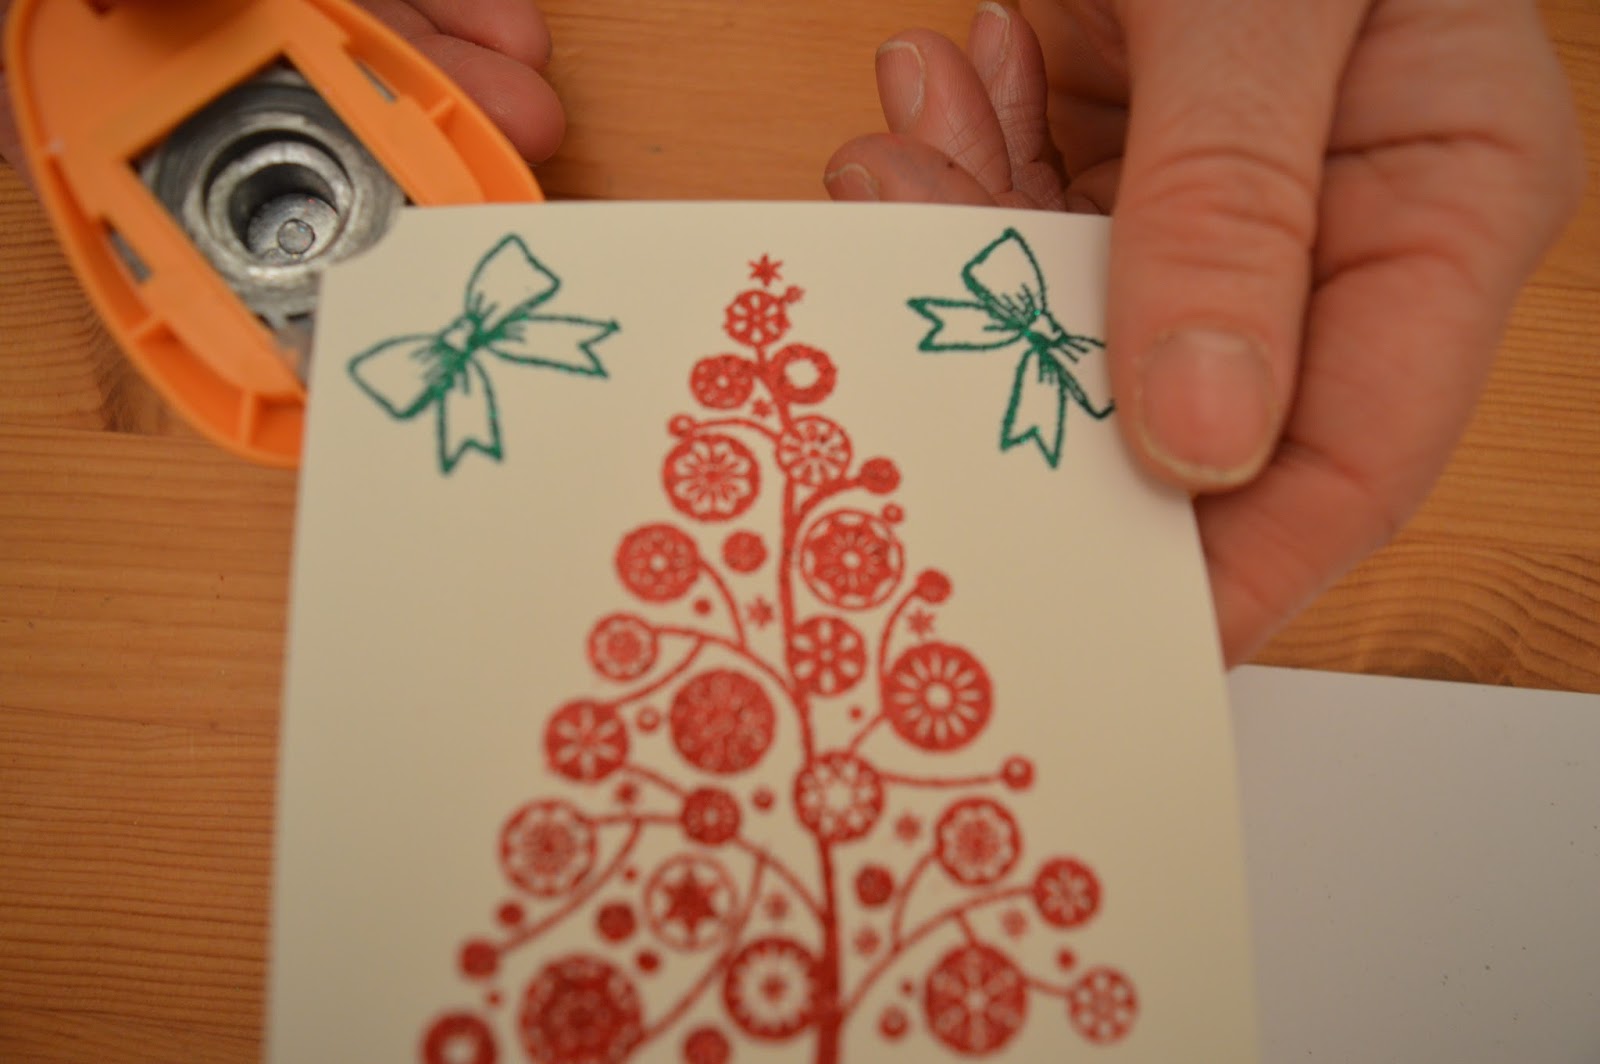
4) I also stamped some bows onto my front layer piece and embossed in green. You create a frame like effect take a circle punch and punch out 1/4 of a circle. Use a guide to punch out all four corners. I have been loving the technique lately


5) Stick your back layer piece onto the card base then your front layer piece. Then finally add your card with your sentiment onto the card. For more dimension and pop of colour add some gems onto your card.
It's such a beginner friendly card yet it looks like you've put a lot of effort into it!
Thanks so much for checking out this post I hope you enjoyed it!
Be sure to subscribe so you don't miss anything! Check back tomorrow at the same time to see more christmas fun!
Happy crafting! & Blogmas!!
No comments:
Post a Comment