
Hey and welcome to day 14 of #blogmas! It feels like it was only yesterday I started this. What has been your favourite so far?
Today I wanted to show you a fun way of boxing up a perfume or any tall items to give to your friends or family for christmas.

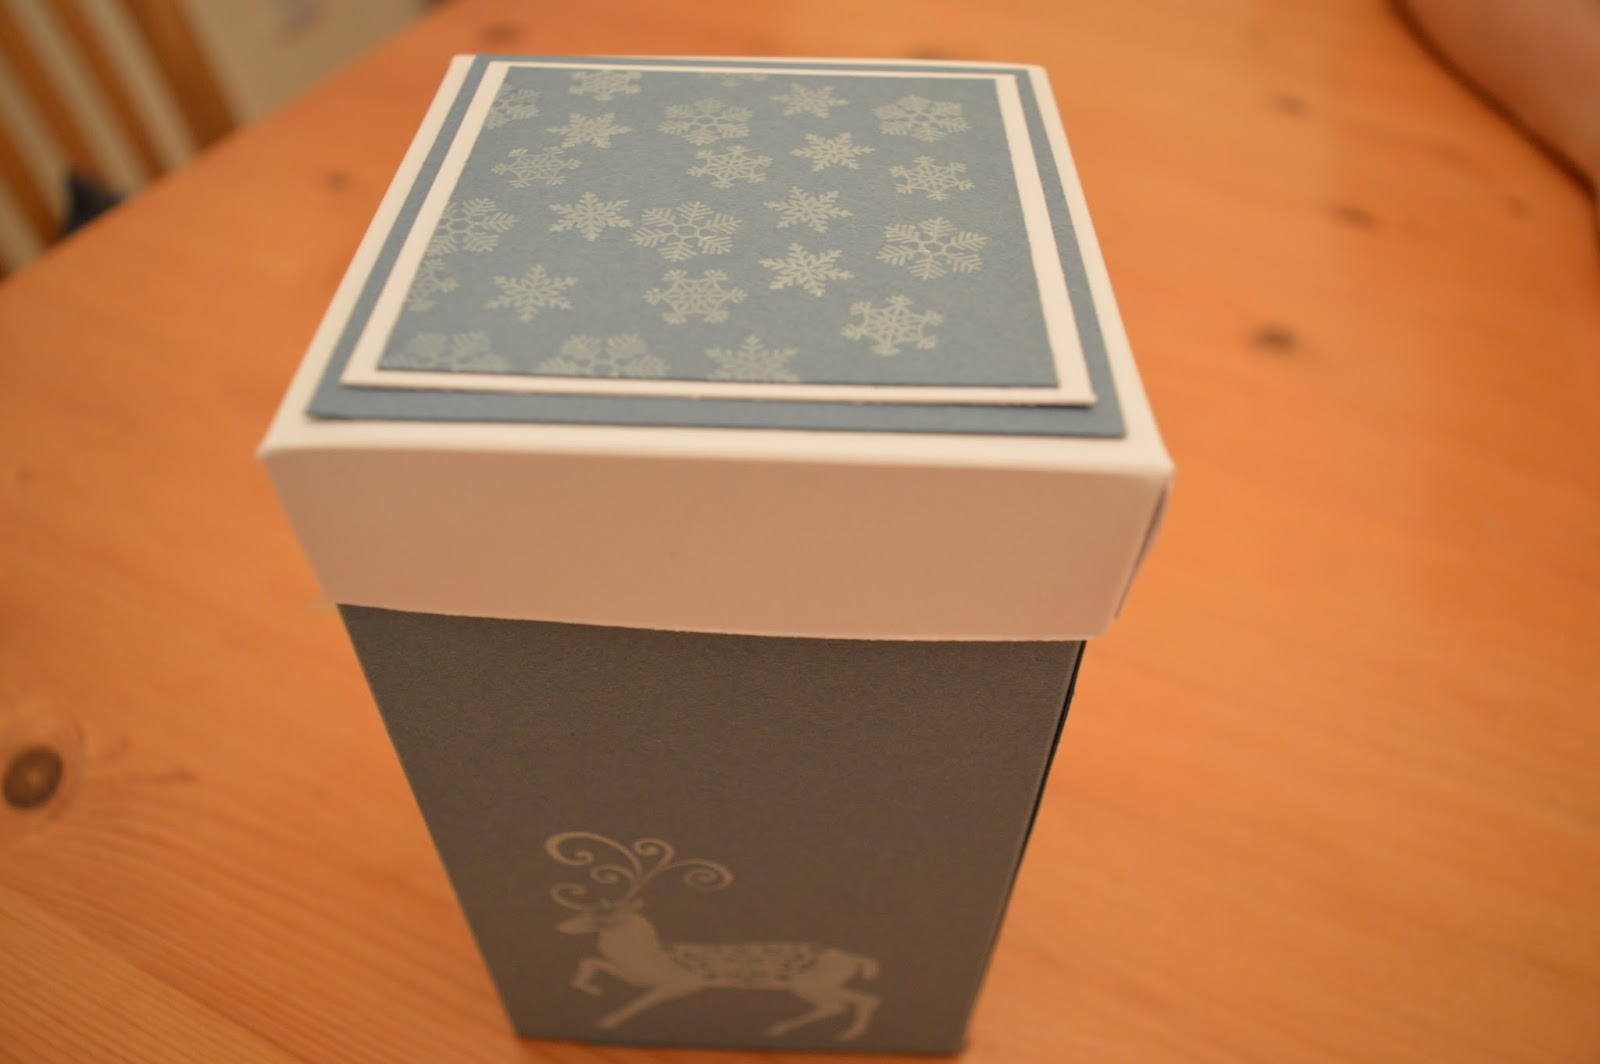
I made a box like this a while ago for wine glasses my sister makes but I wanted to show you a more masculine version. This box is super easy to make and you could easily adjust the size to fit your gift!
If you want to find out how to make it then just keep reading.
Steps:
1) For the box cut two pieces of card stock to 9 1/4" x 7 1/2". I chose a blue as I wanted it to be more masculine. Then for the lid cut one piece of white (or other colour) card to 5 9/16" square. Finally you will need three more pieces for the lid. Cut one piece the same colour as your box to 3 5/16" square, one piece the same as your lid to 3 1/16" square and finally another piece the same as your box again to 2 13/16" sqaure.
2) Score on your lid 1" all around each edge. On each of the box pieces score on the long side at 6 1/4" and the short side at 3 1/2" and 7". Stamp on your smallest lid piece the 2 13/16" one and the bigger rectangles on your box pieces

3) With your lid piece cut the scoreline to the left of the small square on the bottom right and notch in on both sides. Turn your card around 90 degrees each time until you have cut all four

4) Cut both of the long rectangles on the bottom right on your box pieces and cut into the middle of both squares on the bottom

5) Put some adhesive on one of the tabs and glue under the other piece (the opposite side where the tab is)

6) Put some adhesive on the tab thats left and half in half to secure

7) To seal the bottom fold in the two squares opposite to each other and stick then do the same to the remaining two
8) For the lid glue the squares to the tabs above them then stick on your alternating colour pieces. From largest to the smallest


Place your gift in the box, pop the lid on and it's ready for your loved one to receive. You could add some ribbon to help it stay shut if you need to!
As you can see this is super easy to make and you can use any other or stamps to make it more personal. You could even add a window on the one of the sides to give a little sneak peak on whats inside.
Thanks so much for checking out this post! If you have a gift you want to make a box for but you can't work out the measures let me know and I will try and help you!
Be sure to subscribe so you don't miss anything! Check back tomorrow at the same time to see more christmas fun!
Happy crafting! & Blogmas!!
No comments:
Post a Comment