
Hey guys!! I am so happy to be doing another post!
I had made some small travellers notebook inspired books for me and my daughter - Brooke - to do The Reset Girls #ListerGottaList challenge and I was looking for an excuse to make another one because I have been majorly hoarding paper - especially 12" x 12".
I was showing my 6 year old niece - Ellie and she absolutely loved them! My sister lives very close by to me so I get to spend a lot of time with my niece. Her and Brooke love each other and play together loads - it's so sweet!
I decided to make one for Ellie so she could use it as a sort of diary and put stickers all over it. She is obsessed with stickers!!
We went through my paper and she chose the one she loved then the rest will be a complete surprise for her!

I love the one's I had made for me and Brooke but I wanted to do something slightly different for Ellie. I attached a Heidi Swapp clip from a pack I had purchased from TK Max!

Keep reading to find out how you can make your own!
The first thing you will need to do is chose your paper for the base/background of your book. Keep in mind for what you are using it for as this may affect your decision. It's need to be around 9" x 8.5" in order to be big enough. You will be cutting it down slightly from this.

I did some research into the size of travellers notebooks because I eventually would love to buy some Midori type sleeves to keep them in. I decided to go with the 11cm x 21cm one. You will need to cut your paper down to 22cm x 21cm and fold in half. Before you cut you need to keep in mind a few things; if it has a pattern on it, what direction do you want the pattern to go. As you can see from the previous ones I had made the one with the chevron pattern goes across as oppose to up and down. I wanted it be that way so I cut it. Also if you have different colours or anything else on it, consider what parts you want where. It may be useful to cut out a template using regular A4 paper to help you decide how you want it cut.

You will need to fold your paper or card in half. Be sure to do this with the 22cm side across the top so you fold at 11cm. You can use a scoring board for this if you are using thick card but mine was relatively thin so I didn't use one.

You will now need to grab some paper - as many sheet as you can - cut down to the same size as your paper or card stock you have just made an fold in the same way. I folded mine one at a time to ensure a nice crisp fold.

As you can see my paper was double sided which I love because when you open the book you get a cute pattern on the inside also!

With all of mine I wasn't too fused about gluing or binding or stapling my pages in. I don't travel with them. The paper actually sits in mine very well and when I eventually get something to put them in I won't have to worry about it. There are different tutorials on youtube on how you can keep the paper in.
The next thing I usually do is go through all my journalling cards, die cuts, stickers and washi and pull out anything I might want to use. Even if you are on the fence I would just keep it to one side. Sometimes it might not look like it works but it may be the one you end up using!

As you can see from the picture below I had made a few decisions on what I wanted to use. I knew I wanted to use the house and ballon but felt it needed something on the bottom. I forget to go through my paper packs and I pulled out any pieces I thought might work. I also went through my washi paper packs
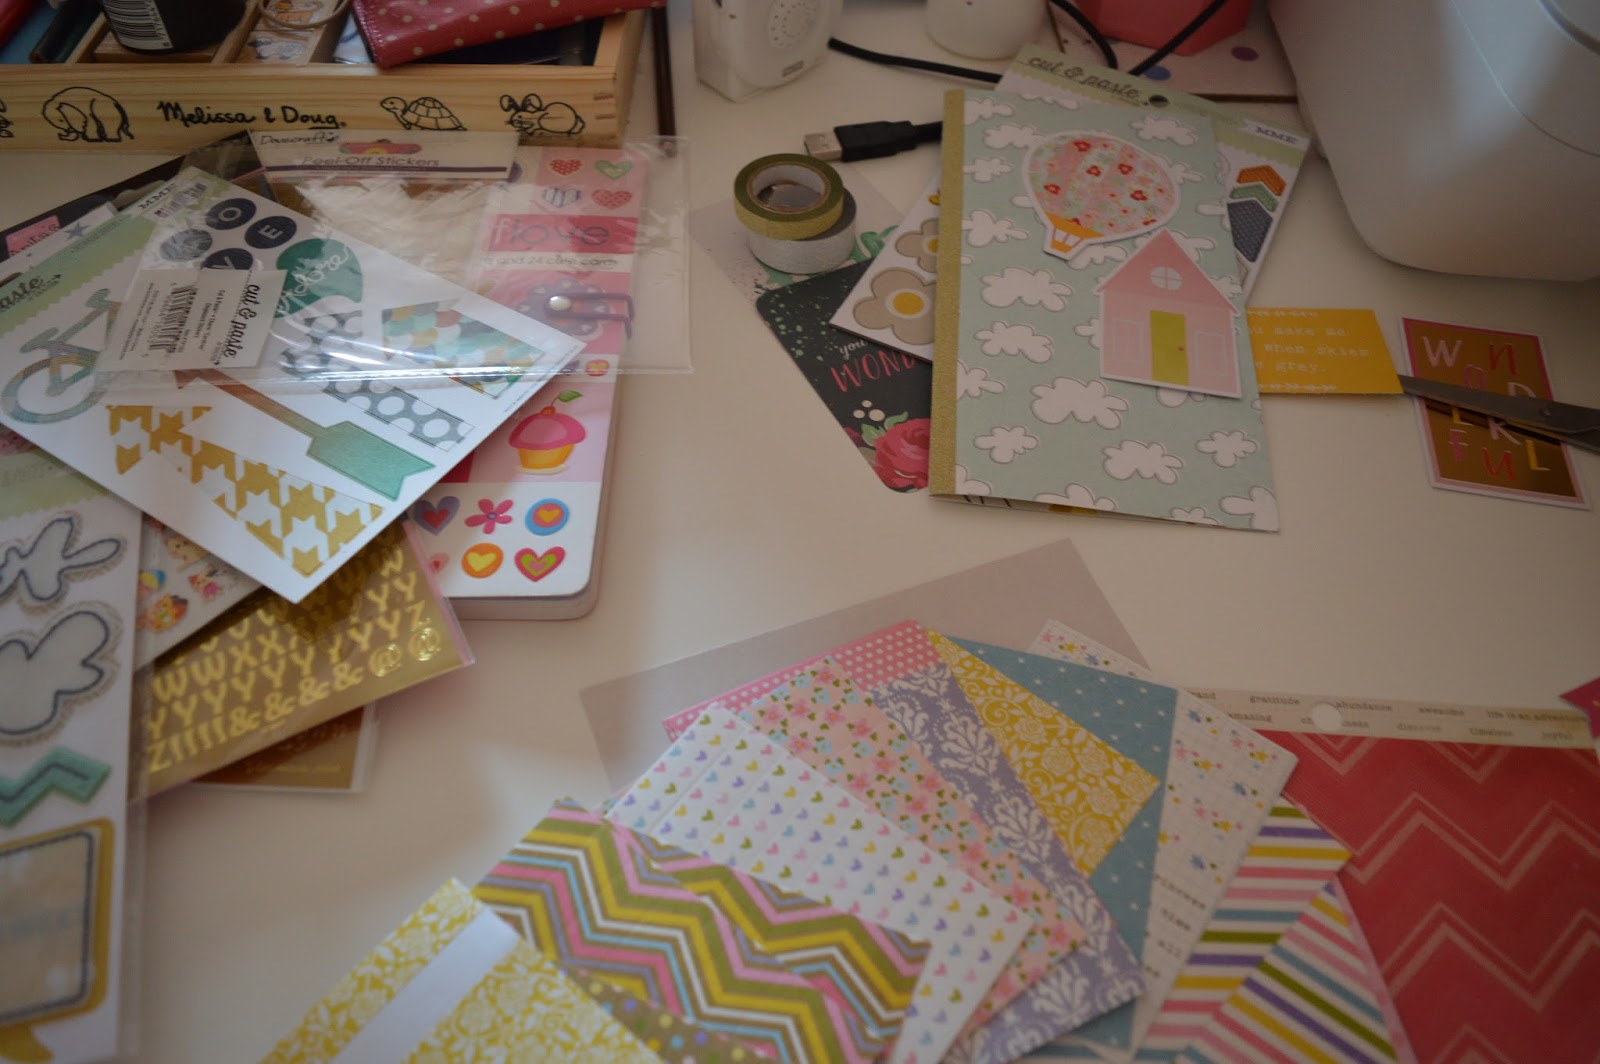
From that point on it's just about placing things on your book and seeing what works and what doesn't. I made so many different combinations and I found myself coming back to the house and ballon again and again. Because of this I knew I had to use it as not only did it go perfect with the design of the paper but I knew Ellie would love it! I would definitely recommend trying out as many different things as you can before making a choice. Don't stick anything down permanately unless you are completely sure!

And there it is! I'm so in love with it and I can't wait to give it my niece.
Not only are the fun to make but there are so many different uses for them! Here are just a few:
- Journaling
- Listing (List challenges)
- Diary
- Memory keeping
- Fitness tracker
- Planner
The next time I make one I will definitely use different colour paper inside. I think that will look amazing!
I plan on making a lot of these and as a said I have some form of Midori on my wishlist! I am a bit of a notebook addict so these are perfect for my as I can completely customise to exactly how I want them.
If you want me to show you different ones or how I use them comment down below and I can definitely do another post on them. Do want me to include planner updates in all my posts? I've been making my own stickers and absolutely loving how my spreads are turning out!
Keep your eye out for an upcoming post by Susan where she will be showing you a super cute mini notebook she made. I'm obsessed with them and they are so different to the one in this post.
If you would like to purchase the EC planner or anything on the Erin Condren website you can click the link below where you can receive a $10 off coupon code.
Disclaimer: If you use the link above, sign up and make a purchase I will receive a $10 coupon to spend online at Erin Condren. I completely understand if you prefer not to use this link. You can just go on the website itself and sign up then receive your $10 coupon without having to use my link!
Hugs
Danielle <3
No comments:
Post a Comment