
Hey everyone and welcome to another step by step tutorial.
I've been so eager to put this one up as it is by far one of my favourite cards I have made. I'm pretty sure I say stuff like that all the time!


One of the things I love about this card is it's almost like a little surprise when your receiver opens it. It has a very unusual effect when you open it and this give you so much room to customise it which is so much fun.
At first this card may seen slightly confusing to make but once I made one I felt I was on a bit of a roll. I love making them now and I have experiment slightly with how I make them. Stay tuned for an upcoming post!
As always this card is very suitable for any occasion but one that spring to mind for me when I see this card is halloween! This card would be perfect to play around with to give someone a little scare or surprise!
If you want to find out how to make this card then just keep reading!
What you will need:
- Three piece of card stock - any colour you would like - cut to 8 1/2" x 5 1/2". You will be using one of these pieces as a template
- Two piece of dsp cut to 1 6/8" x 5 1/8"
- Oval die set - I used second to largest
- Stamps of your choice
- Inks of your choice
- Embossing folder
- Big Shot
- Sticky strip
- Any other embelishments you would like to use
Steps:
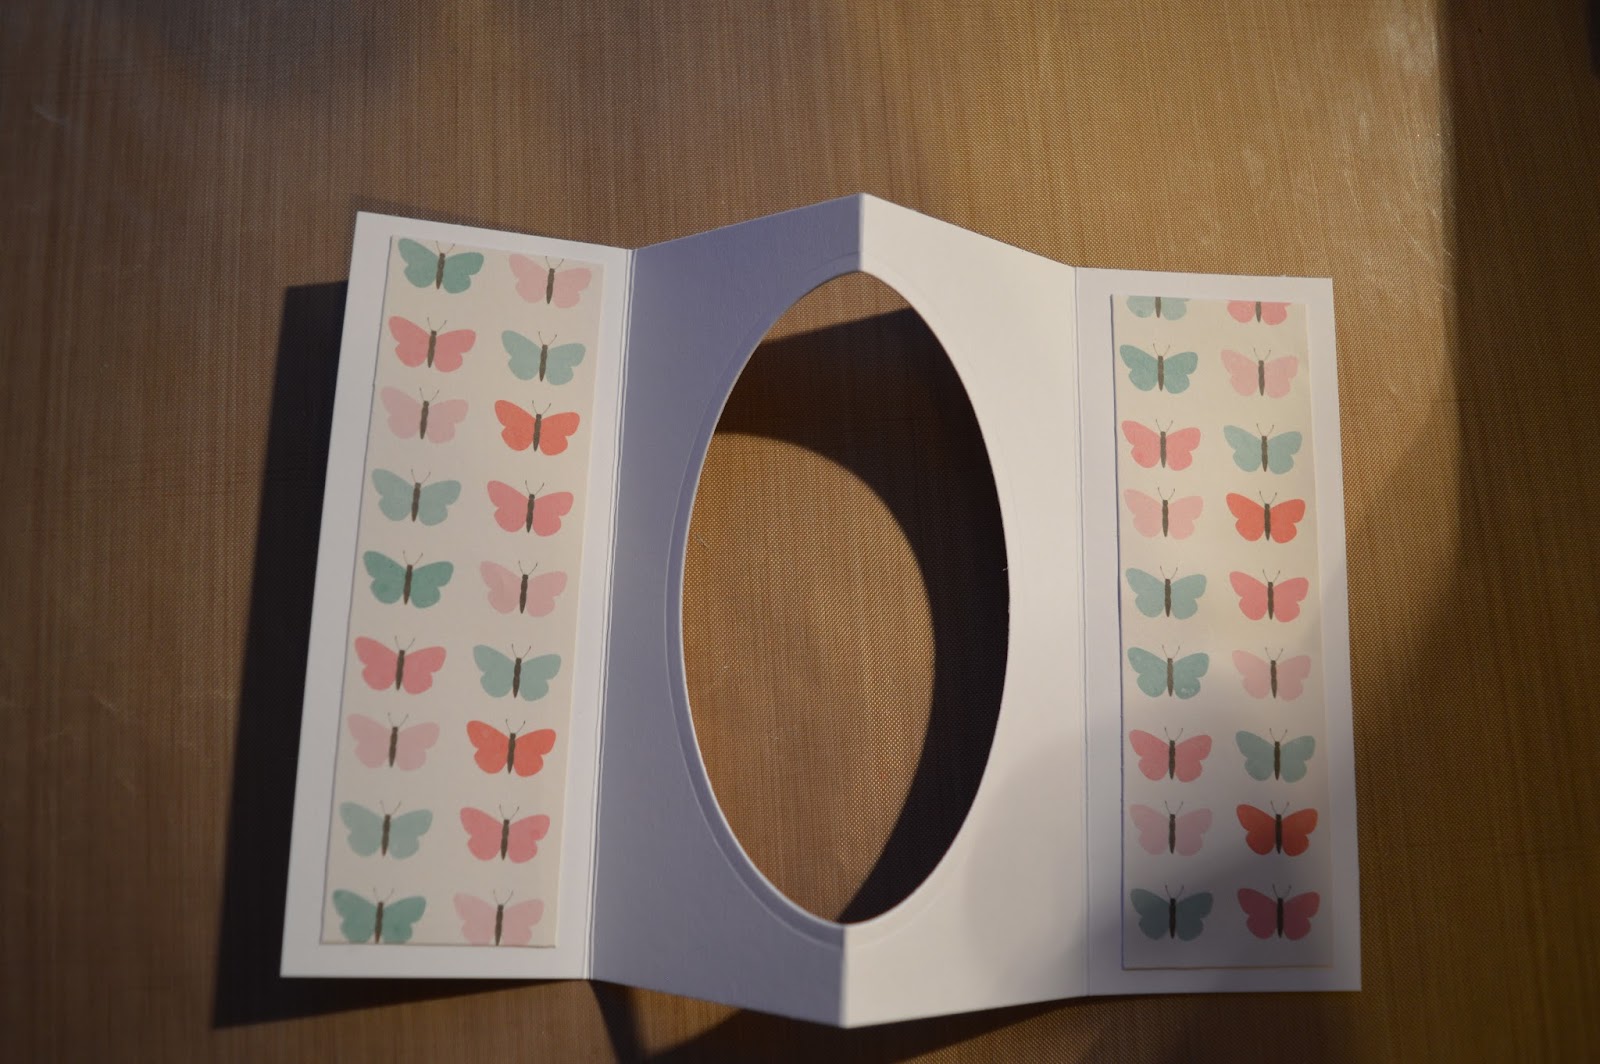
1) You will need to start off by cutting a few piece that will make up your card. You need to piece of card stock - any colour you like - cut to 8 1/2" x 5 1/2". Also cut an additional piece of the card stock as you will later use this as a template. You will also need two pieces of dsp cut to 1 6/8" x 5 1/8"

2) Score on of the piece of card stock, on the long side, at 2 1/8", 4 1/4" and 6 3/8". The picture below shows the other piece of card stock scored but you will do this step soon. Also repeat the scoring on your template

3) Using an oval die - I used the second to largest one in my set - cut out an oval in the center on the card you scored. Also do this step on your template too


4) Taking the piece of card stock your haven't yet scored, clip your template onto it and stamp in the oval space in the centre


Once you have taken your template away it should look something like this

5) You will then need to stamp your scored card at 4 1/4" on the long side. This will be your card base

6) When folding and burnishing your scorelines on the piece of card - not the template as you won't need this anymore - you will need to fold the middle scoreline backward so the middle of the card sticks out towards you and the two scoreline either side the opposite way. See the picture below for reference


7) You then need to stick your dsp onto the two panels either side of this piece of card. Keep in mind the pattern if it has one and the direction you would like it to go
8) Cut a piece of scrap card stock to 4" x 5 1/4" and emboss. I only embossed just over 3/4" of mine as I wanted to stamp the bottom of it. To do this all you need to do is not put your folder completely between the cutting plates as you can see below.


9) Put some sticky strip on the back of your card with the window and attach to your card base.


10) Stamp your relevant sentiment onto the piece of card you embossed. I quite like the off centre look


11) I didn't like the harsh edge between the embossing and the flat card so I stuck some ribbon around the card on the edge to hide it and I think it give a beautiful effect

12) Close your card and attach to the front. Finish with any embellishment you wish and you are complete!


How fun is that! Hence the name I am guessing.
It never stops amazing me how creative and fun it can be to make someone a card. For years I would just walk into a shop, grab some cards and write a quick little message inside. Some people even send cards online!
I started to feel as though they weren't personal and I would never buy a card and think 'oh thats fun' or 'how beautiful is this card.' Since making my own I feel I can make any card to suit anyone I want. I love how unique and personal they are to that person and it show the effect I have put in.
I also never have that worry of 'oh no it's so and so's birthday tomorrow and all the shops are closed and I can't get them a card on time!' I always make sure I have the right materials to make one in a flash.
What's your favourite thing you like to make?
I want to keep things mixed up on this blog and always make sure you enjoy the posts me and Danielle put up. What kind of things would you like to see from us both?
- More cards
- More boxes
- Scrapbooking/journalling
- Planner related
- DIY's
- Food
- Organistation
Please drop a comment below to let us know. If you want a bit of everything we can definitely do that for you!
Don't forget if you re-make this tag me on twitter or instagram or you can use the hashtag #sukilucrafts.
Happy crafting!
Susan x
No comments:
Post a Comment