Hi everyone! Hope you have had a lovely weekend.
I feel like I haven't done many card tutorials lately so I thought it would show you how you can make a shaker card. I love these cards as I think they are so fun and perfect for a wide range of people and occasions.
I've seen people make shaker cards using a few different methods so in this post I would show you one of them. If you would like another post making one using a different method then please let me know.
If you want to find out how you can make one of your own then just keep reading.
Steps:
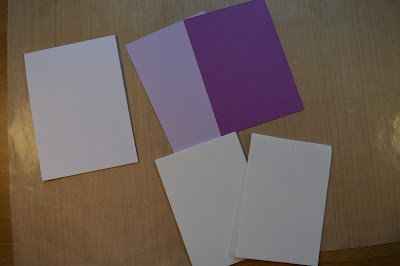
1) You will first need to cut up all your pieces. Your card base will be 11" x 4" scored at 5". Your two colour pieces of card will be 5 1/4" x 3 6/8" and finally your fun foam pieces will be 5" x 3 4/8"
2) You will need to cut out your window shape on your top layer piece of also your two pieces of fun foam. First cut out your top layer piece then use as a guide for the two fun foam pieces. When putting your fun foam through your big shot be careful not to put through too many times as you can stretch it out. If you do just trim some off the edges
3) The piece of card you haven't cut out a window will be the one you stamp on. Use your top layer as a guide so you know where to stamp
I also stamped on my top layer as well
4) Layer the two pieces of fun foam together
5) To build your card it's very simple. You will need to first stick the piece of card you stamp without the window cut out on the card base, then stick the fun foam over that. Will the top layer stick a piece of acetate to the underside behind the window. My acetate was 3 1/2" x 4 1/2". Before sticking on your top and final piece, put some sequins or beads inside. Stick your final layer on your card and you are complete. Give it a shake to make sure all your pieces move around fine.
I always thought shaker cards were slightly more complicating to make but once you get the method they are so easy.
There are different ways you could experiment with this card, you could make lots of little windows and have shaker parts in them, you could watercolour behind the shaker part to create a scene or you could even have the whole card on big shaker!
I personally think these would be really sweet as card for younger people, even toddlers!
Have you ever made a shaker card? Tag in a picture so I can check it out!
I really hope you enjoyed this post, thanks so much for reading!
Don't forget if you re-make this tag me on twitter or instagram or you can use the hashtag #sukilucrafts.
Happy crafting!
Susan x


No comments:
Post a Comment