
Hey everyone! Welcome to another day of #Blogmas here on Sukilu Crafts.
Today on day #3 will be part 1 of how to make your own advent calendar. I will also be showing you how to put it together so be sure to stay tuned for that!

I experimented last year making my ow advent calendar but it didn't turn out exactly how I planned. I love how it turned out this year though and I think my granddaughters are going to love them!
This is a perfect idea for someone who doesn't like chocolate or if just want to fill it with something other than food. I know that things like Shopkins are extremely popular with children at the moment.
They are pretty easy to make but as you need to create 25 then it does take up quite a few supplies. It's well worth it thought in my opinion.
If you want to find out how to make your own the just keep reading.

Steps:
1) You will first need to cut some card stock to 5 1/2" x 6 1/4". Score on the short side at 1/2", 2", 3 1/2" and 5". Then score on the long side at 1 1/2", 3", 4 1/2" and 6. Fold and burnish your scorlines

2) Turn your card so your 6" scoreline you made is on the left. First cut off the small rectangle on the bottom right corner and the longer rectangle above it

3) Then cut into the scoreline to the left of where you cut right up to the middle square. Use the picture below for reference

4) Repeat the same across all the bottom squares and rectangles. You should have four tabs. From left to right they will be 1, 2, 3 and 4. On tab number four notch in slightly on the rectangle on the bottom

5) Completely remove tab 2

6) On tab 1 remove it all apart from about 1/4". This will create a new rectangle. Notch it in slightly

7) Repeat the last step on tab 3

8) Mirror all the step you did on the opposite side you will have a symmetrical shape

9) Cut pieces of dsp to 1 3/8" squares. To make it easier I would recommend cutting six and covering all sides of the box. However, is depends how you want to put your advent calendar together. If you already know then you can work out where you need to put the dsp (you will know which parts of the box will be hidden). Stick the dsp in the appropriate place

10) Put some glue or sticky strip on the small rectangle on end of your box and fold in half to put together


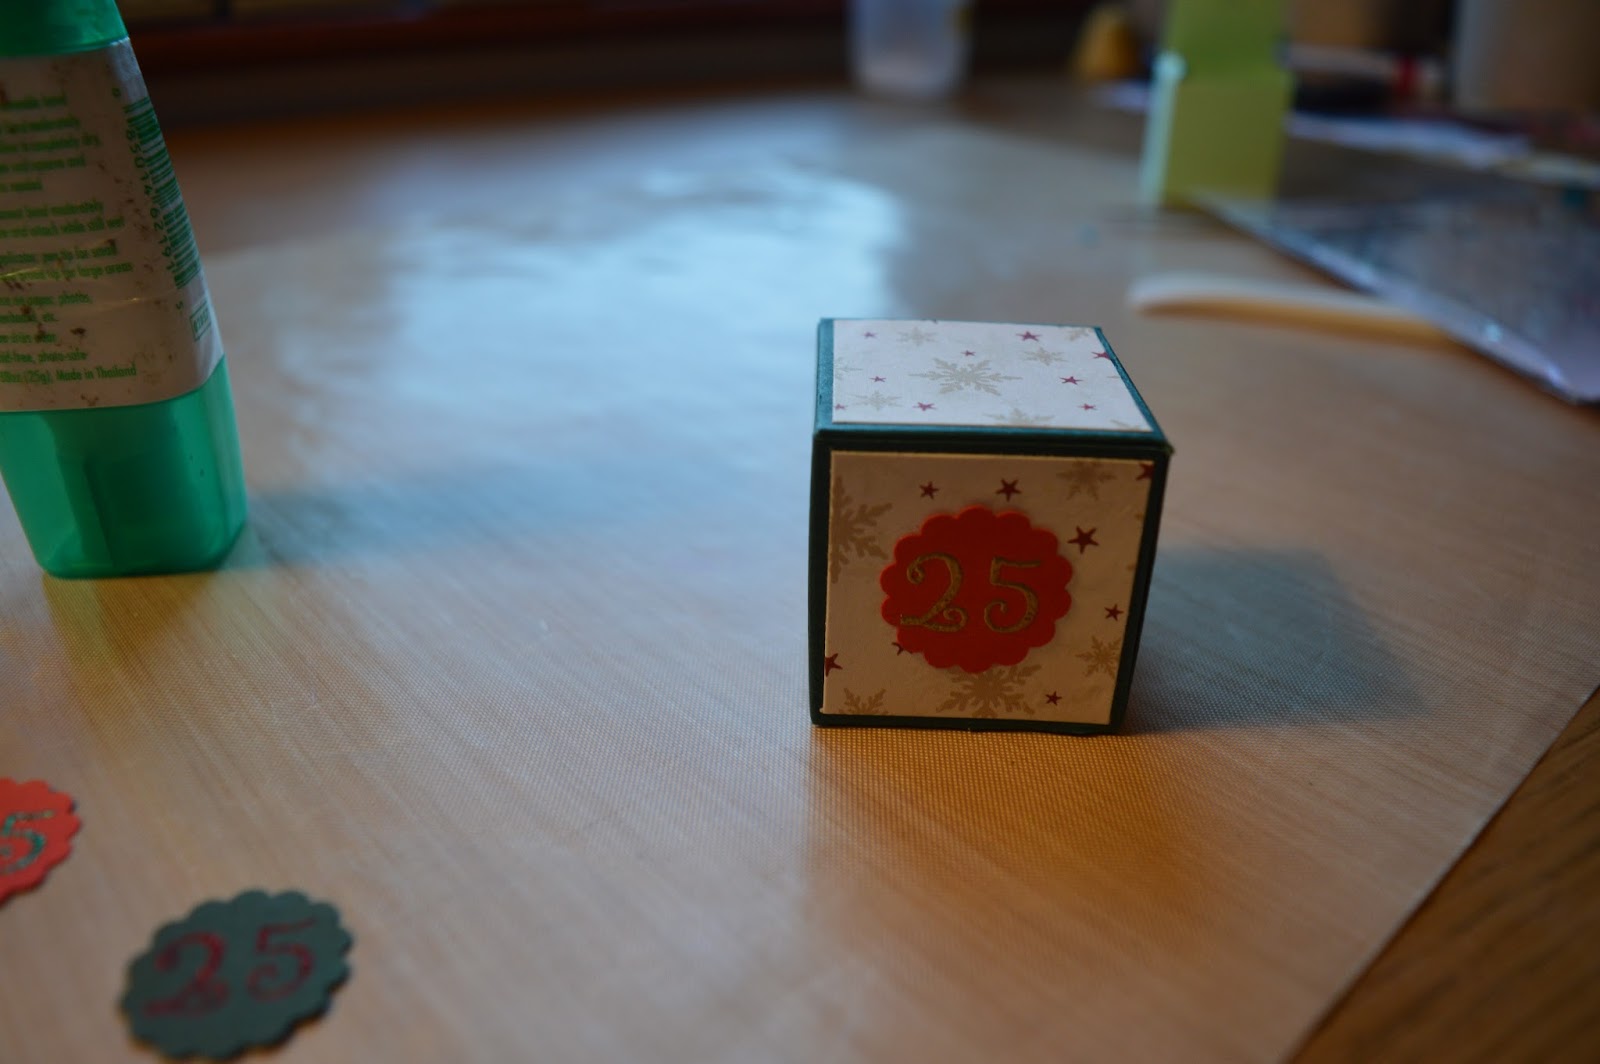
11) Stamp your number on a piece of scrap and punch out using whatever shape you would like. Emboss to add more of a shiny effect

12) Stick on your door. Be sure to think about how you want your door to open. I chose for it open sideways but you could have it any way you want
13) Optional: Punch a small hole (1/8") in the side of your door and put a brad in


14) Finally add a small goodie for your recipient and close!


The other one I am making I am using Frozen dsp to decorate. You can use any so it's make more special to the person as you can customise it exactly to their liking.
I really hope you enjoyed this post. Make sure you don't miss part 2 of this post!
Have you ever made your own advent calendar?
Don't forget to subscribe so you don't miss anything! Check back tomorrow at the same time to see more christmas fun!
Happy crafting! & Blogmas!!
Susan x
No comments:
Post a Comment