
Hello everyone and welcome to day 10 of #blogmas.
I really hope you've enjoyed all the posts we've done so far, please be sure to let me know if theres anything you want to see.
In todays post I wanted to share you with how you can make a cute little milk carton box for a piece of chocolate.

I purchased a pack of chocolate snowmen and reindeers and thought it would be fun to create something that I can put them in. I gave this one to one of my granddaughters and she loves it!
These are so easy to make and they are perfect for any little gifts you want to give Christmas day or even before.
If you want to find out how then just keep reading.
Steps:
1) You will need a piece of card stock cut to 6" x 5 1/2". Score on the long side at 1", 4 1/2" and 5 1/2". Score on the short side at 1", 2 1/2", 3 1/2" and 5". You should have two squares on the second row (when you have the shorter sides at the top and bottom) Find the centre point of the top lines of each square and create a diagonal scoreline from this point to the bottom corners. This will create a triangle . You could also flip the card and notch in at 2 1/2" and 5"


Hopefully you can just about see the diagonal scorelines. Fold and burnish all straight scorelines

2) Remove the bottom left rectangle and notch in on the tab above

3) You should have two squares and two rectangles at the bottom now. Cut into all the scorelines to the scoreline about. Notch in on the rectangles only

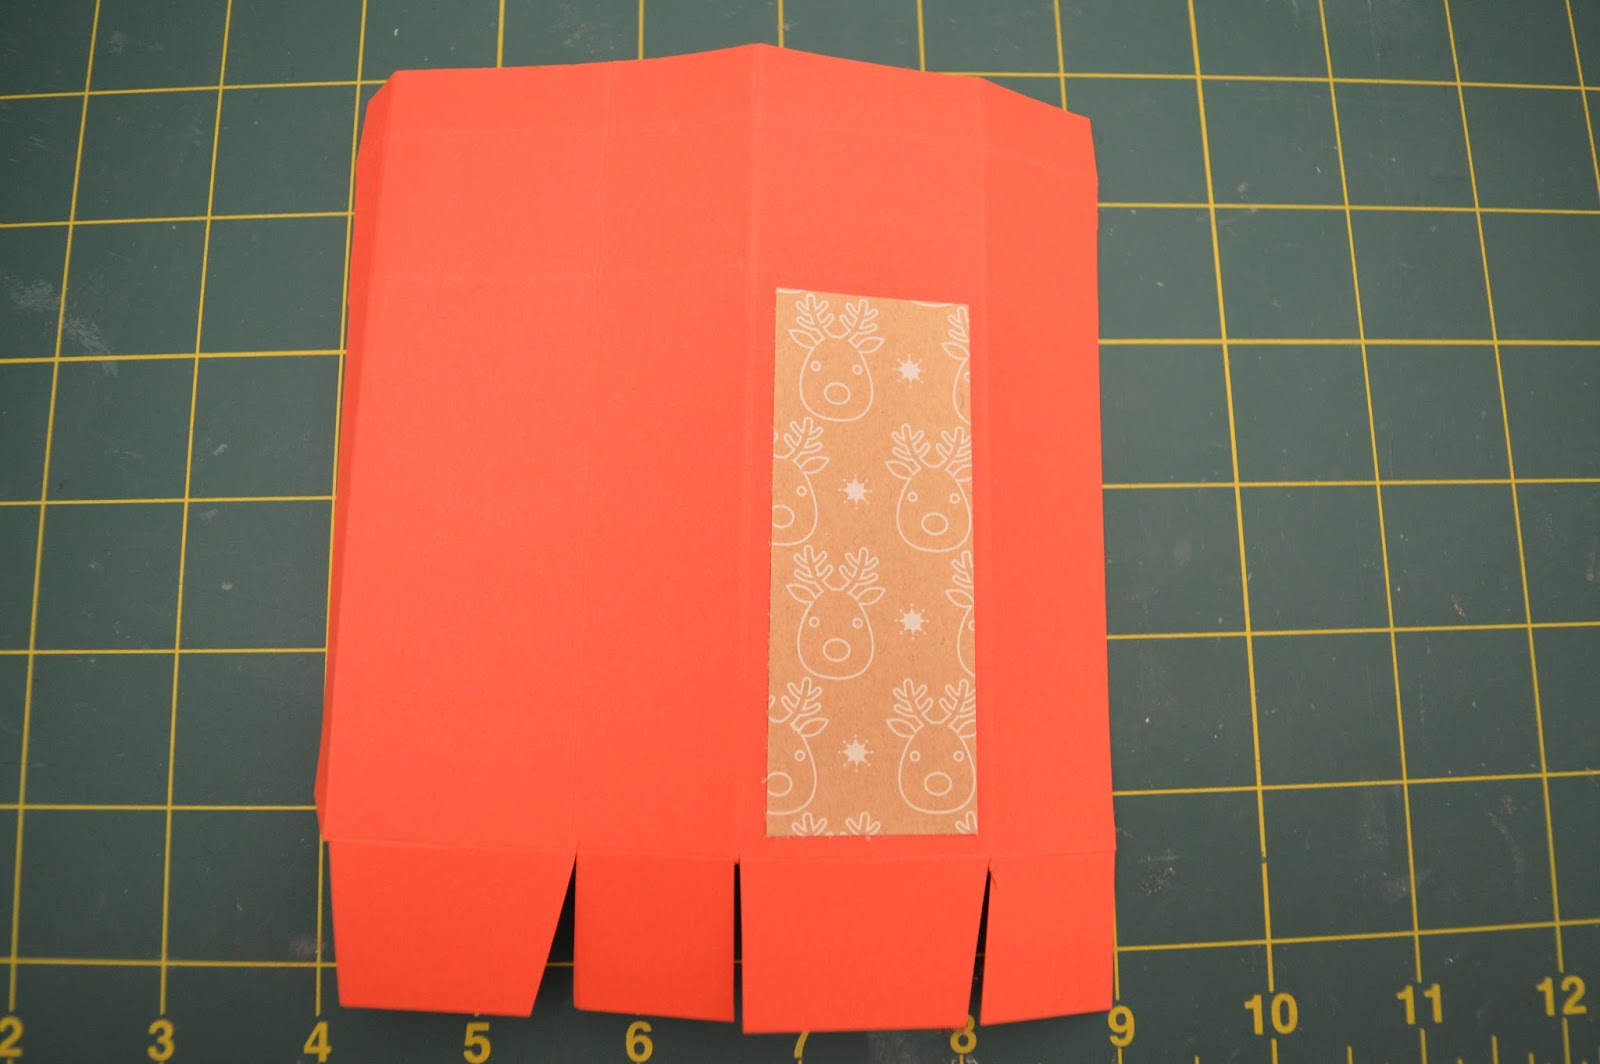
4) If you want to add some dsp cut a piece of 1 1/4" x 3 1/4". Stick to the panel three places from the longer tab on the side. This is the front piece

5) Cut a circle or any shape you would like window as high as you can. Use your chocolate or gift as a guide if you need to. I used a 2.5cm circle. Cut a piece of acetate slightly bigger than your window and stick behind. To put together put some adhesive on the tab and fold in half. Then when putting the bottom together fold in the first. Make sure the last rectangle you glue down goes towards the back seam. For the top part push the front and back together whilst pushing the sides inwards. The diagonal scorelines you made should make this happen seamlessly

6) I added a peg with a bell as my closure but you could use some velcro or ribbon to yours!

I love how it looks as thought Santa is looking out of the window.
Just another quick and easy tutorial which hopefully, gives you a fun little idea on what you else you could do for Christmas.
Don't forget to subscribe so you don't miss anything! Check back tomorrow at the same time to see more christmas fun!
Happy crafting! & Blogmas!!
No comments:
Post a Comment